3D modeling turns abstract ideas into tangible forms, whether it is an architectural blueprint or a product preview. I have worked on projects ranging from architectural visualization to product prototyping, and I have seen how small oversights can change the outcome of a whole project. Avoiding the mistakes below will improve your workflow, save time, and raise the quality of your models.
Below are the most common 3D modeling mistakes I have run into (and made myself), with practical fixes. They apply whether you are just starting out or running a 3D studio. Lighting and materials sit on the line between modeling and rendering, but they decide how your model looks in the final image, so they are included here. If you would rather hand the work off, see our 3D modeling services.
1. Not Considering Scale & Proportions
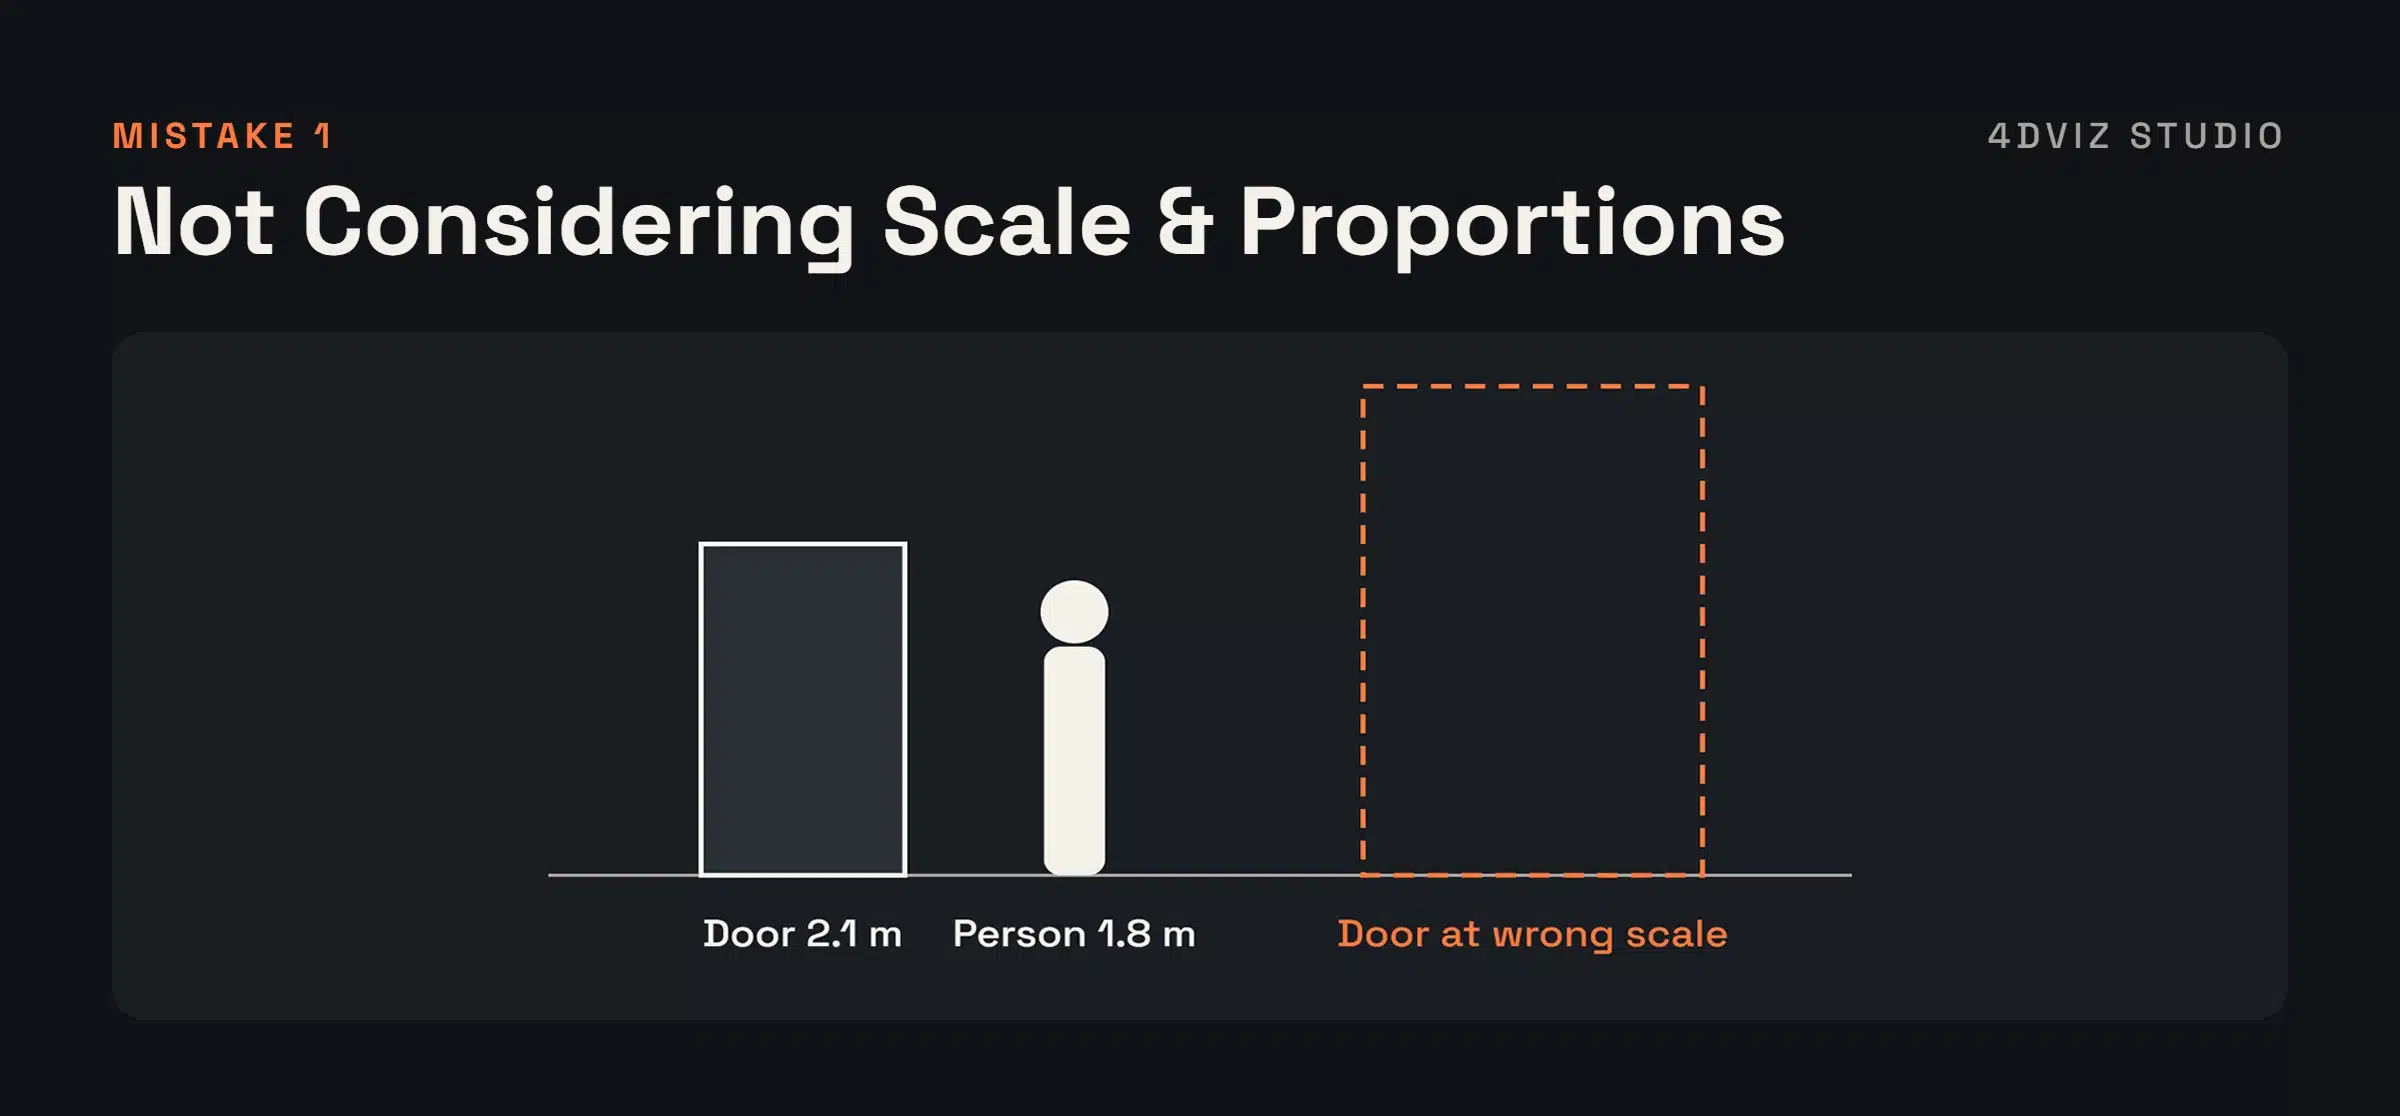
Skipping proper scale setup is one of the easiest mistakes to make. In the middle of a creative flow, it is easy to forget real-world measurements, but wrong scale throws off lighting, materials, and camera behavior as well as the model itself. It matters most in architecture and product design, where precision is critical.
How to Avoid It: Set the correct units and scale in your software (Blender, 3ds Max, etc.) before you place the first object. Model in real-world dimensions and cross-check against CAD drawings or blueprints as you go. I check scale at several stages, especially on architectural models.
2. Over-complicating the Geometry
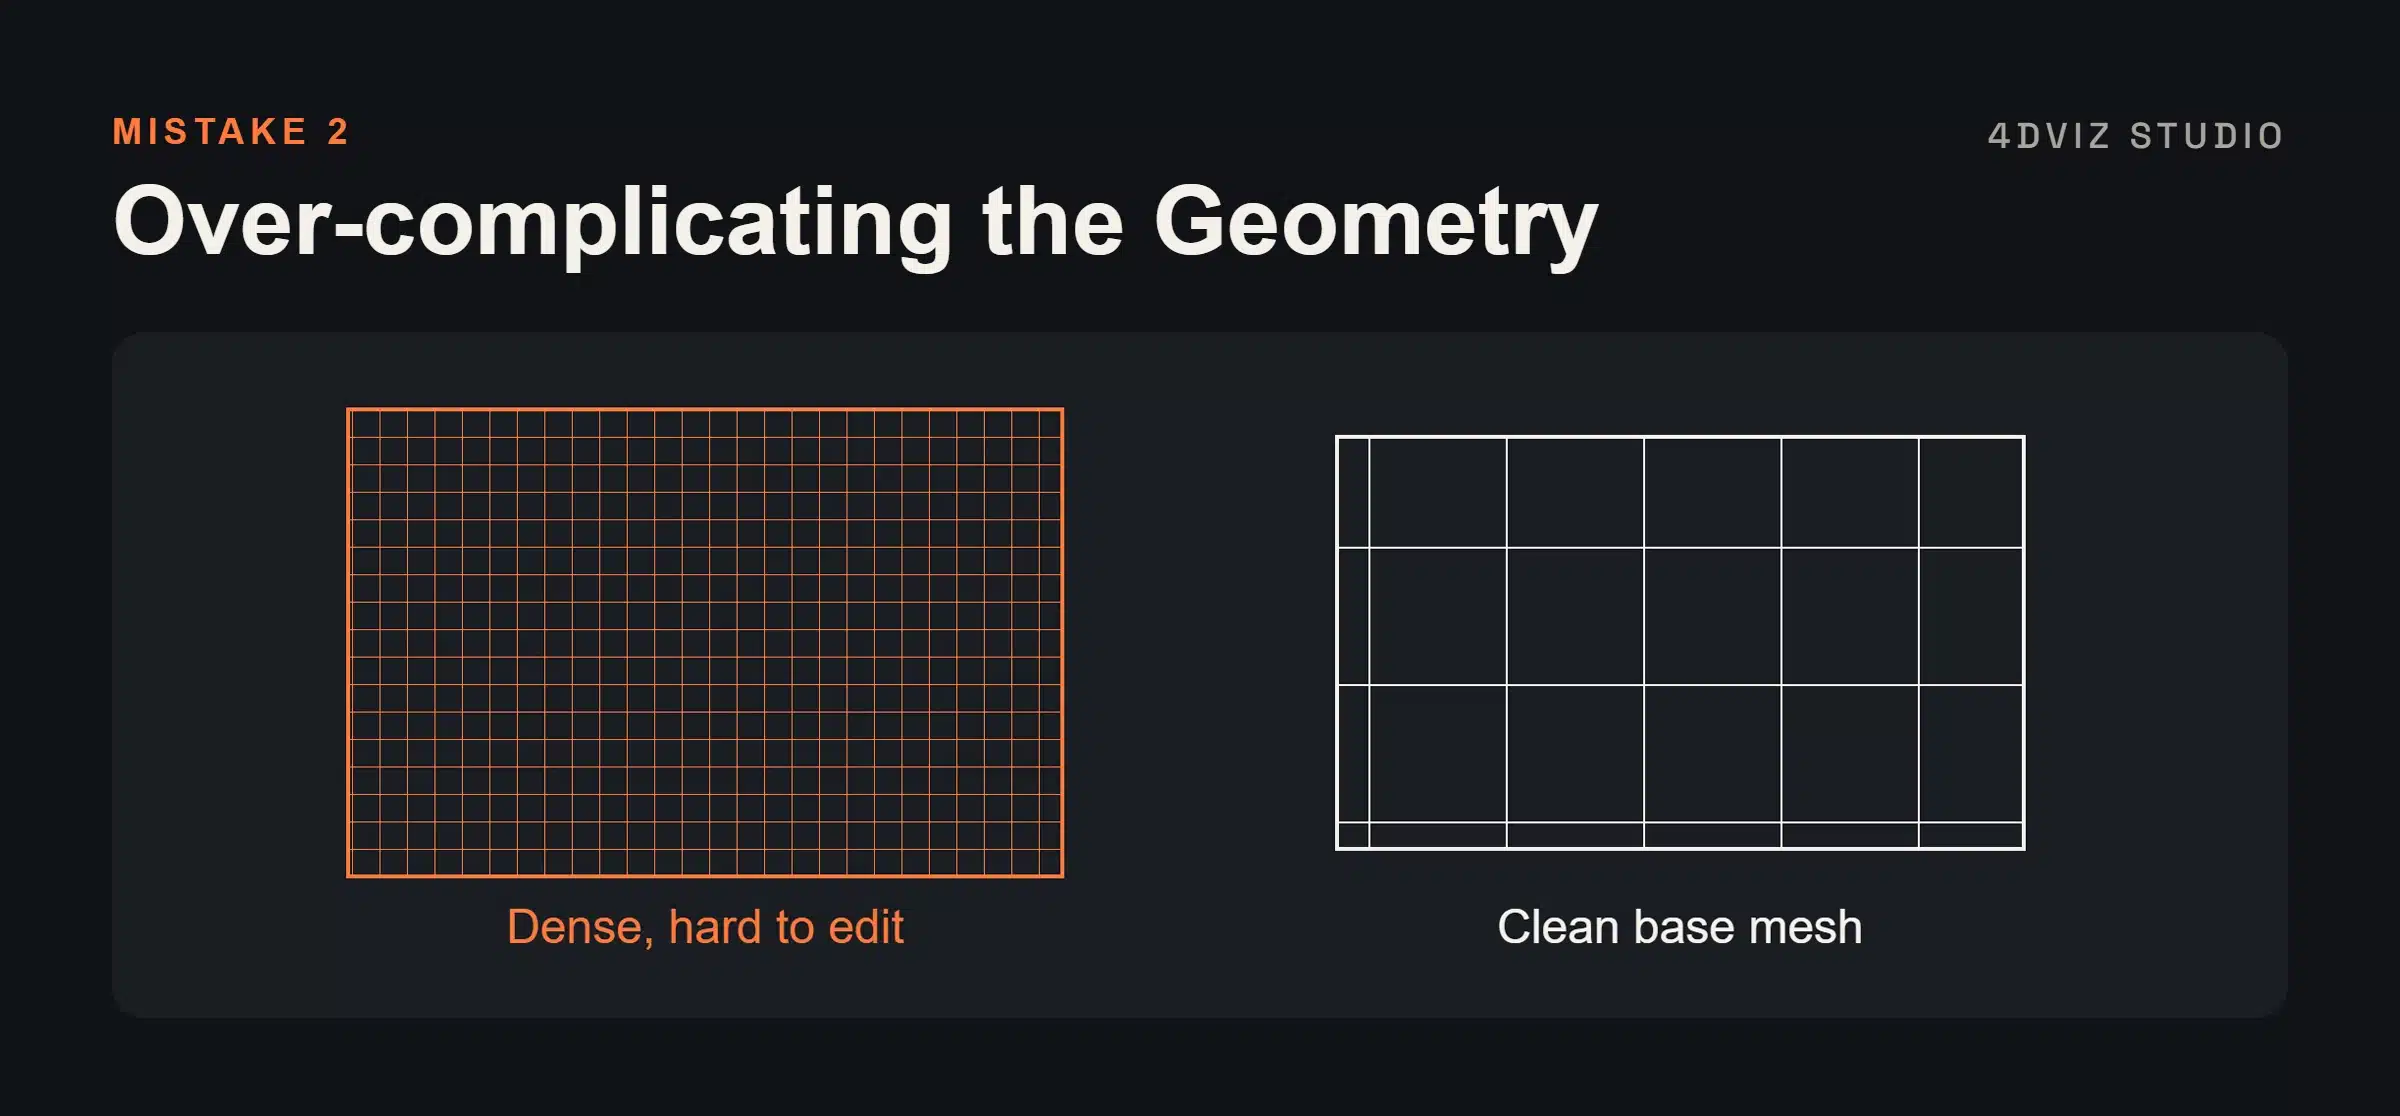
Adding too much detail too early leads to dense geometry, longer render times, and models that are hard to edit. It becomes a real problem when you need both high-poly and low-poly versions.
How to Avoid It: Build a clean base mesh first and add complexity through subdivision modifiers, displacement maps, or normal maps. When I model furniture, I keep the base mesh clean and add bevels and fine detail only where the camera will see them.
3. Poor Topology Management
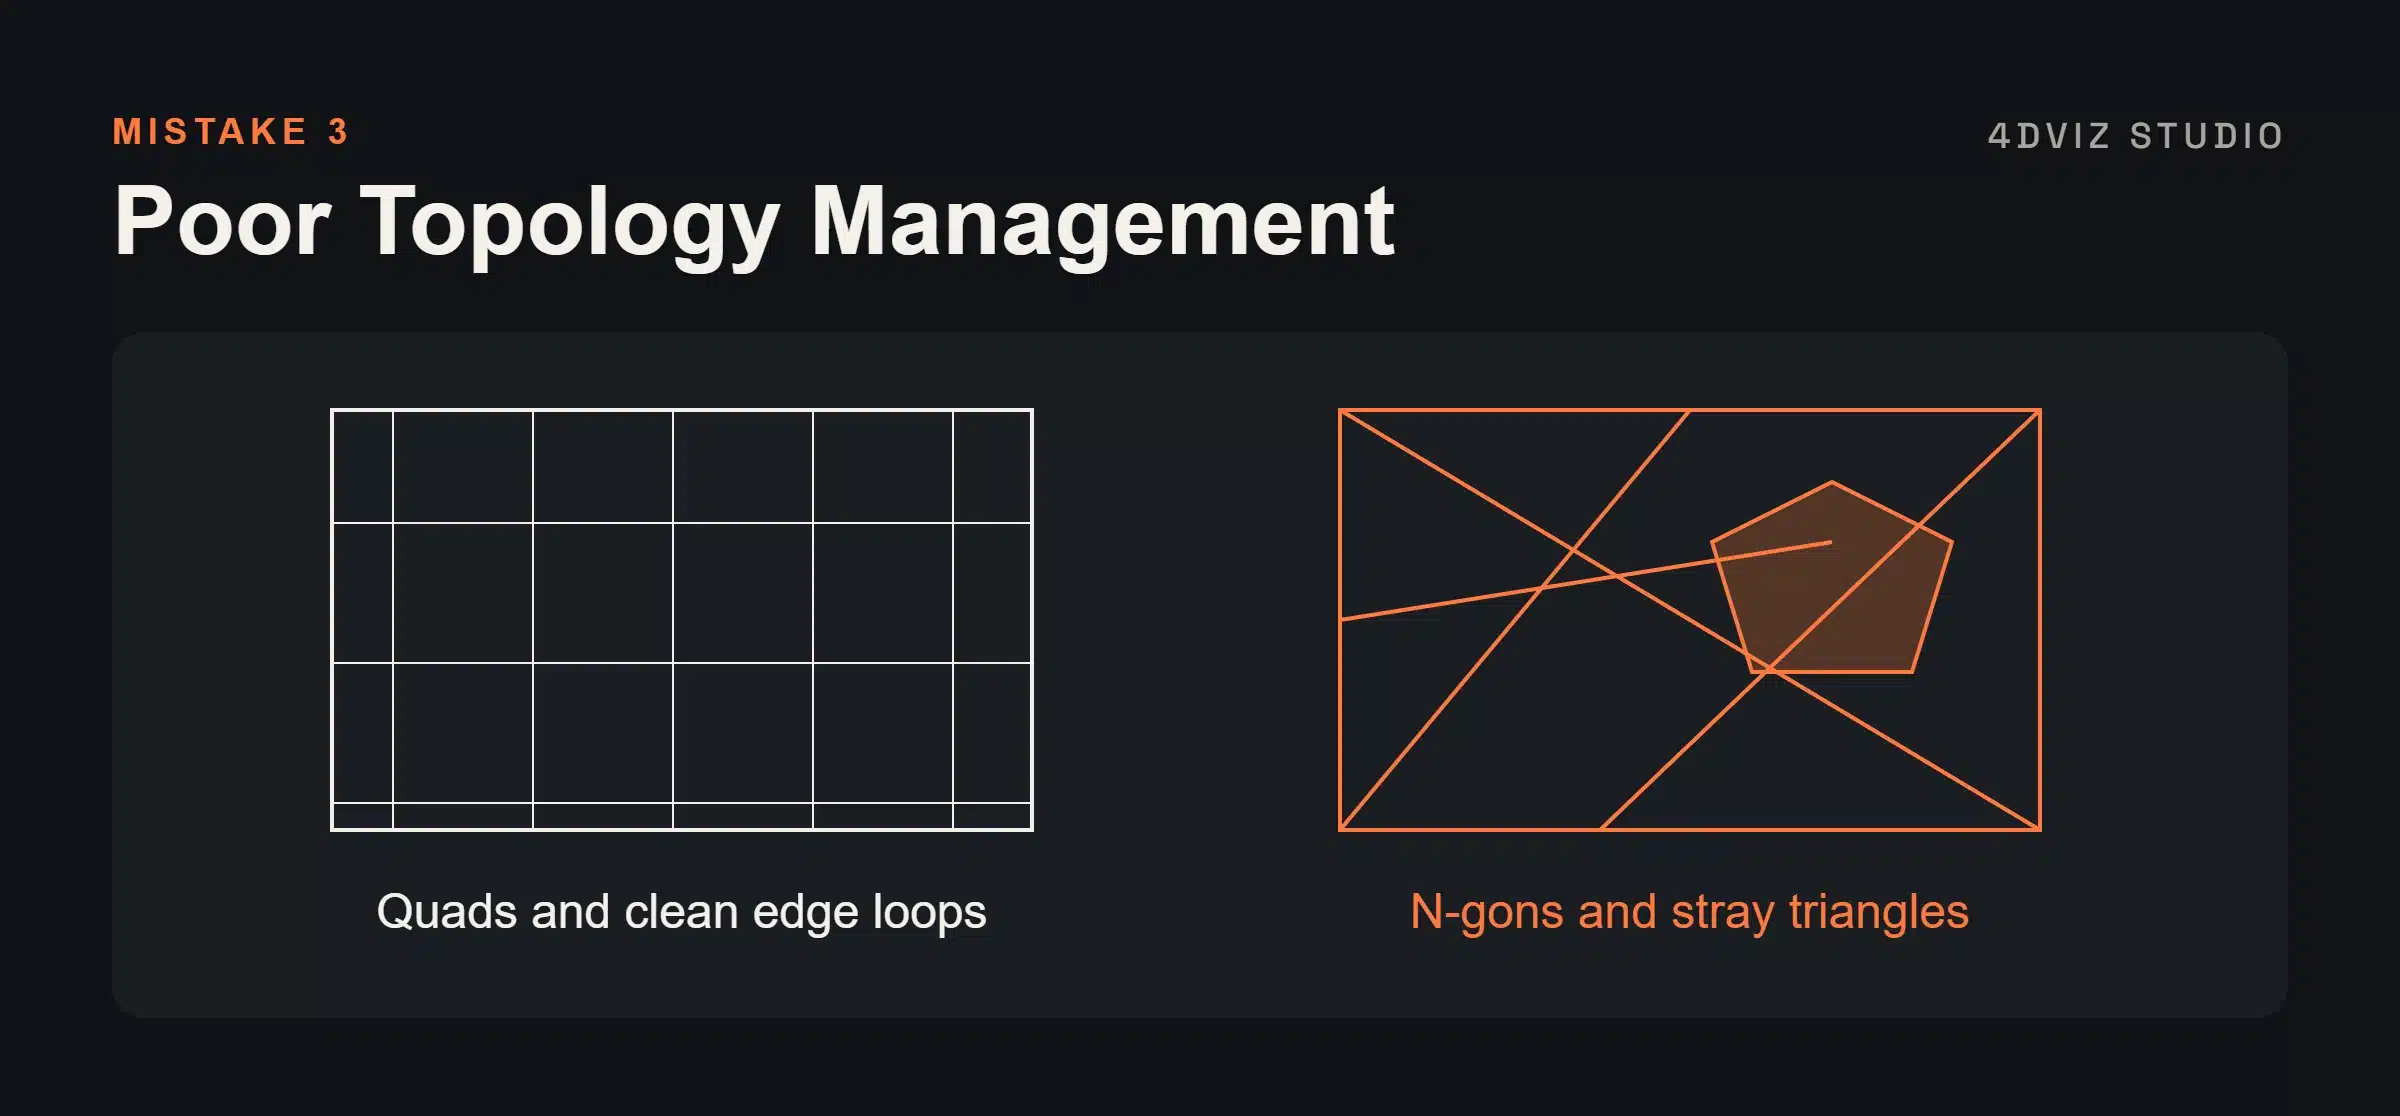
Bad topology leads to shading errors, visible seams, and animation problems. Beginners often struggle with it, and messy edge flow is hard to fix later.
How to Avoid It: Use quads wherever you can and plan your edge loops before you commit. Avoid n-gons and limit triangles to flat, non-deforming areas. A clean mesh at the start saves hours during texturing or rigging.
4. Skipping Bevels and Edge Detail
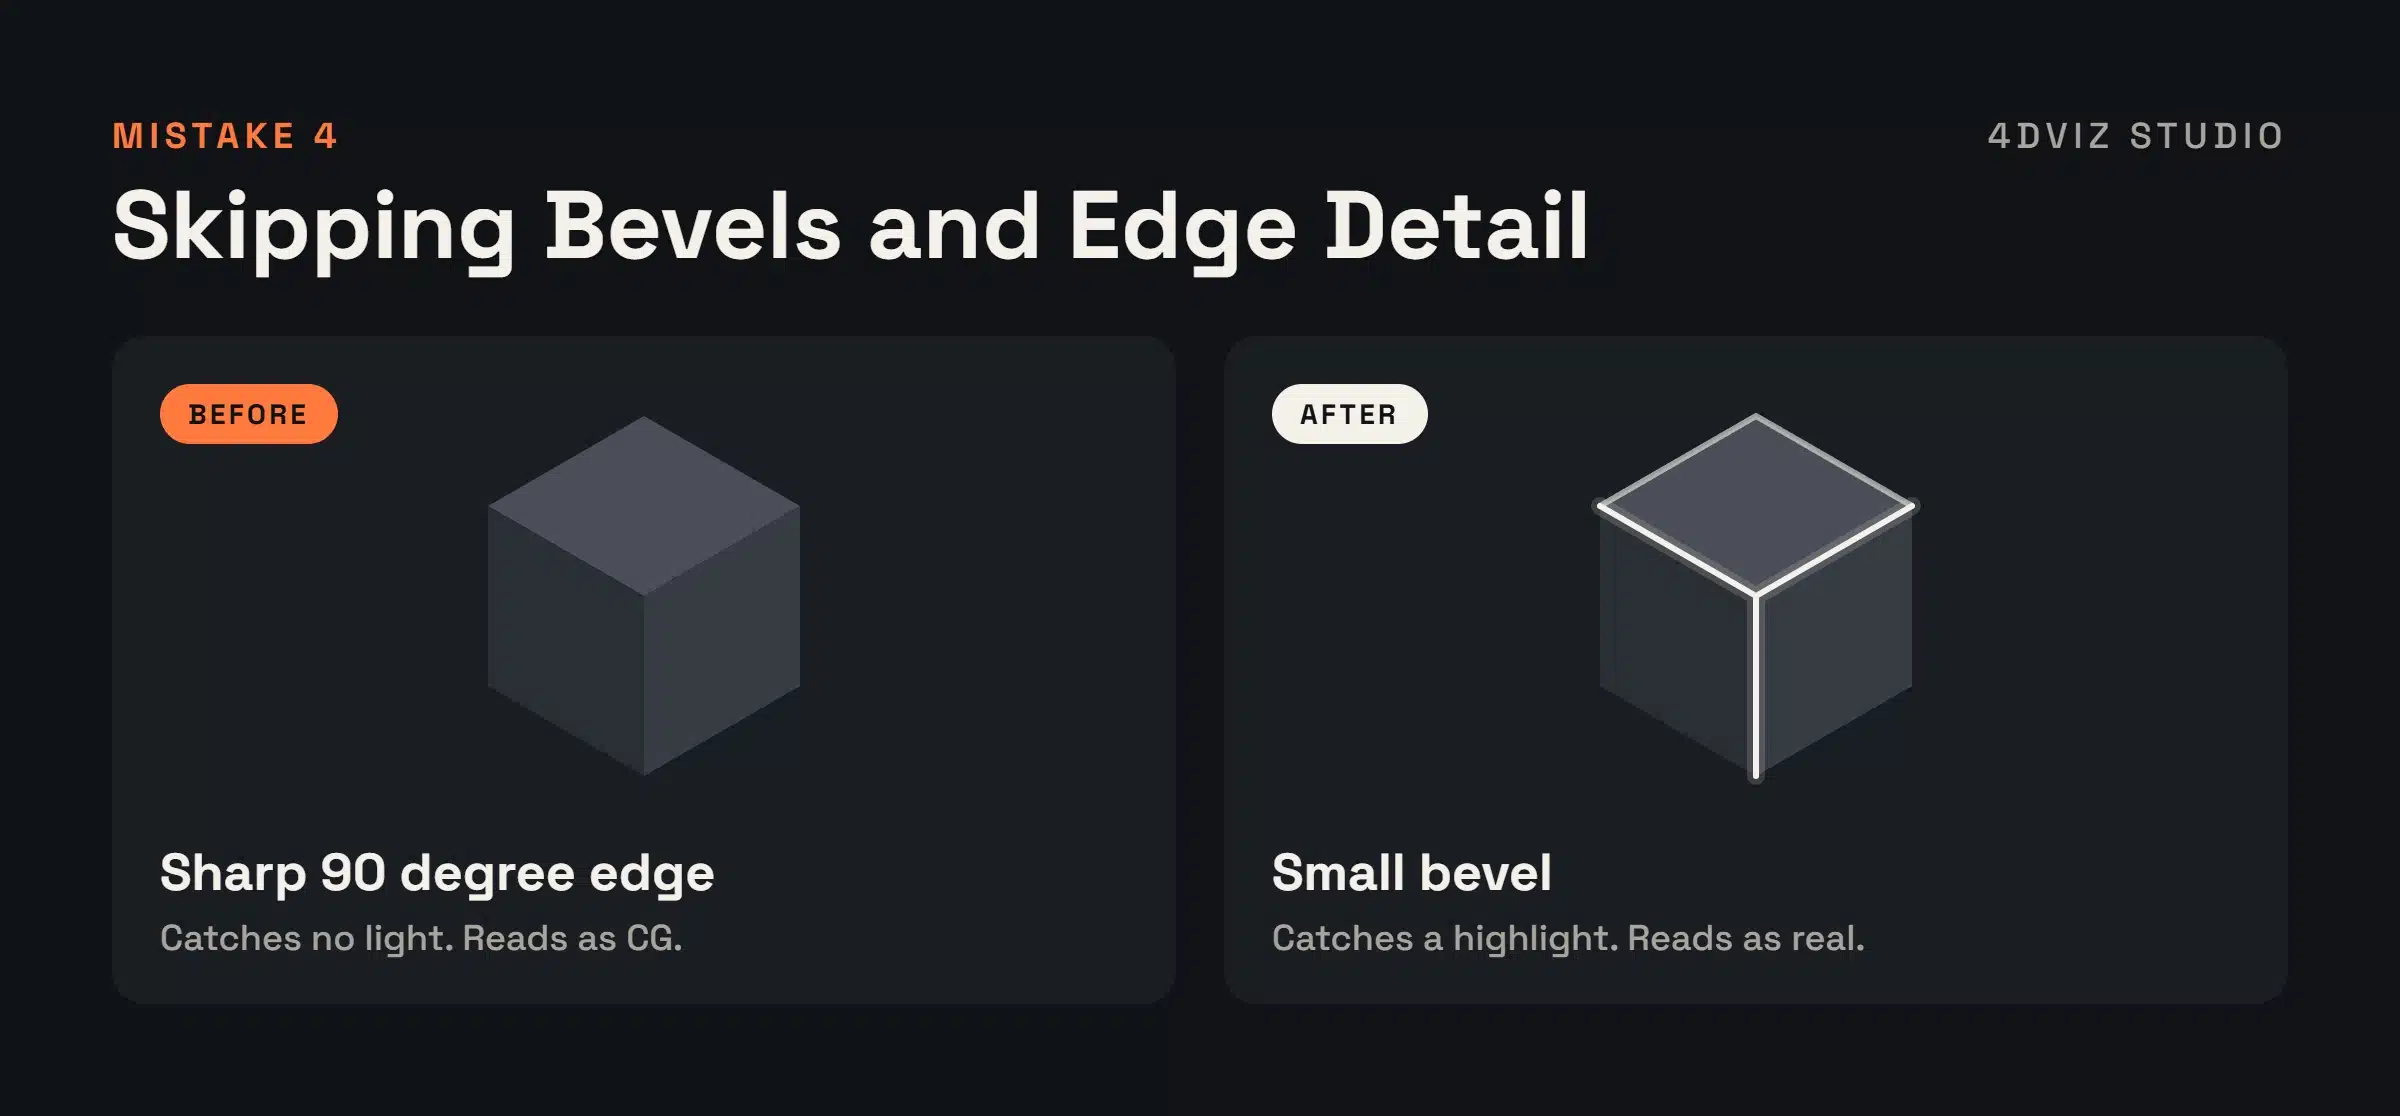
Real objects almost never have perfectly sharp edges. In a render, a razor-sharp 90 degree edge catches no light and instantly looks CG. A small bevel picks up a thin highlight and makes a table, a cabinet, or a product body look physical.
How to Avoid It: Add a small bevel to hard edges, sized to the real object: about a millimeter on small products, a few millimeters on furniture. Use a bevel modifier or shader so you can adjust it later without touching the base mesh.
5. Ignoring Mesh Errors and Export Settings
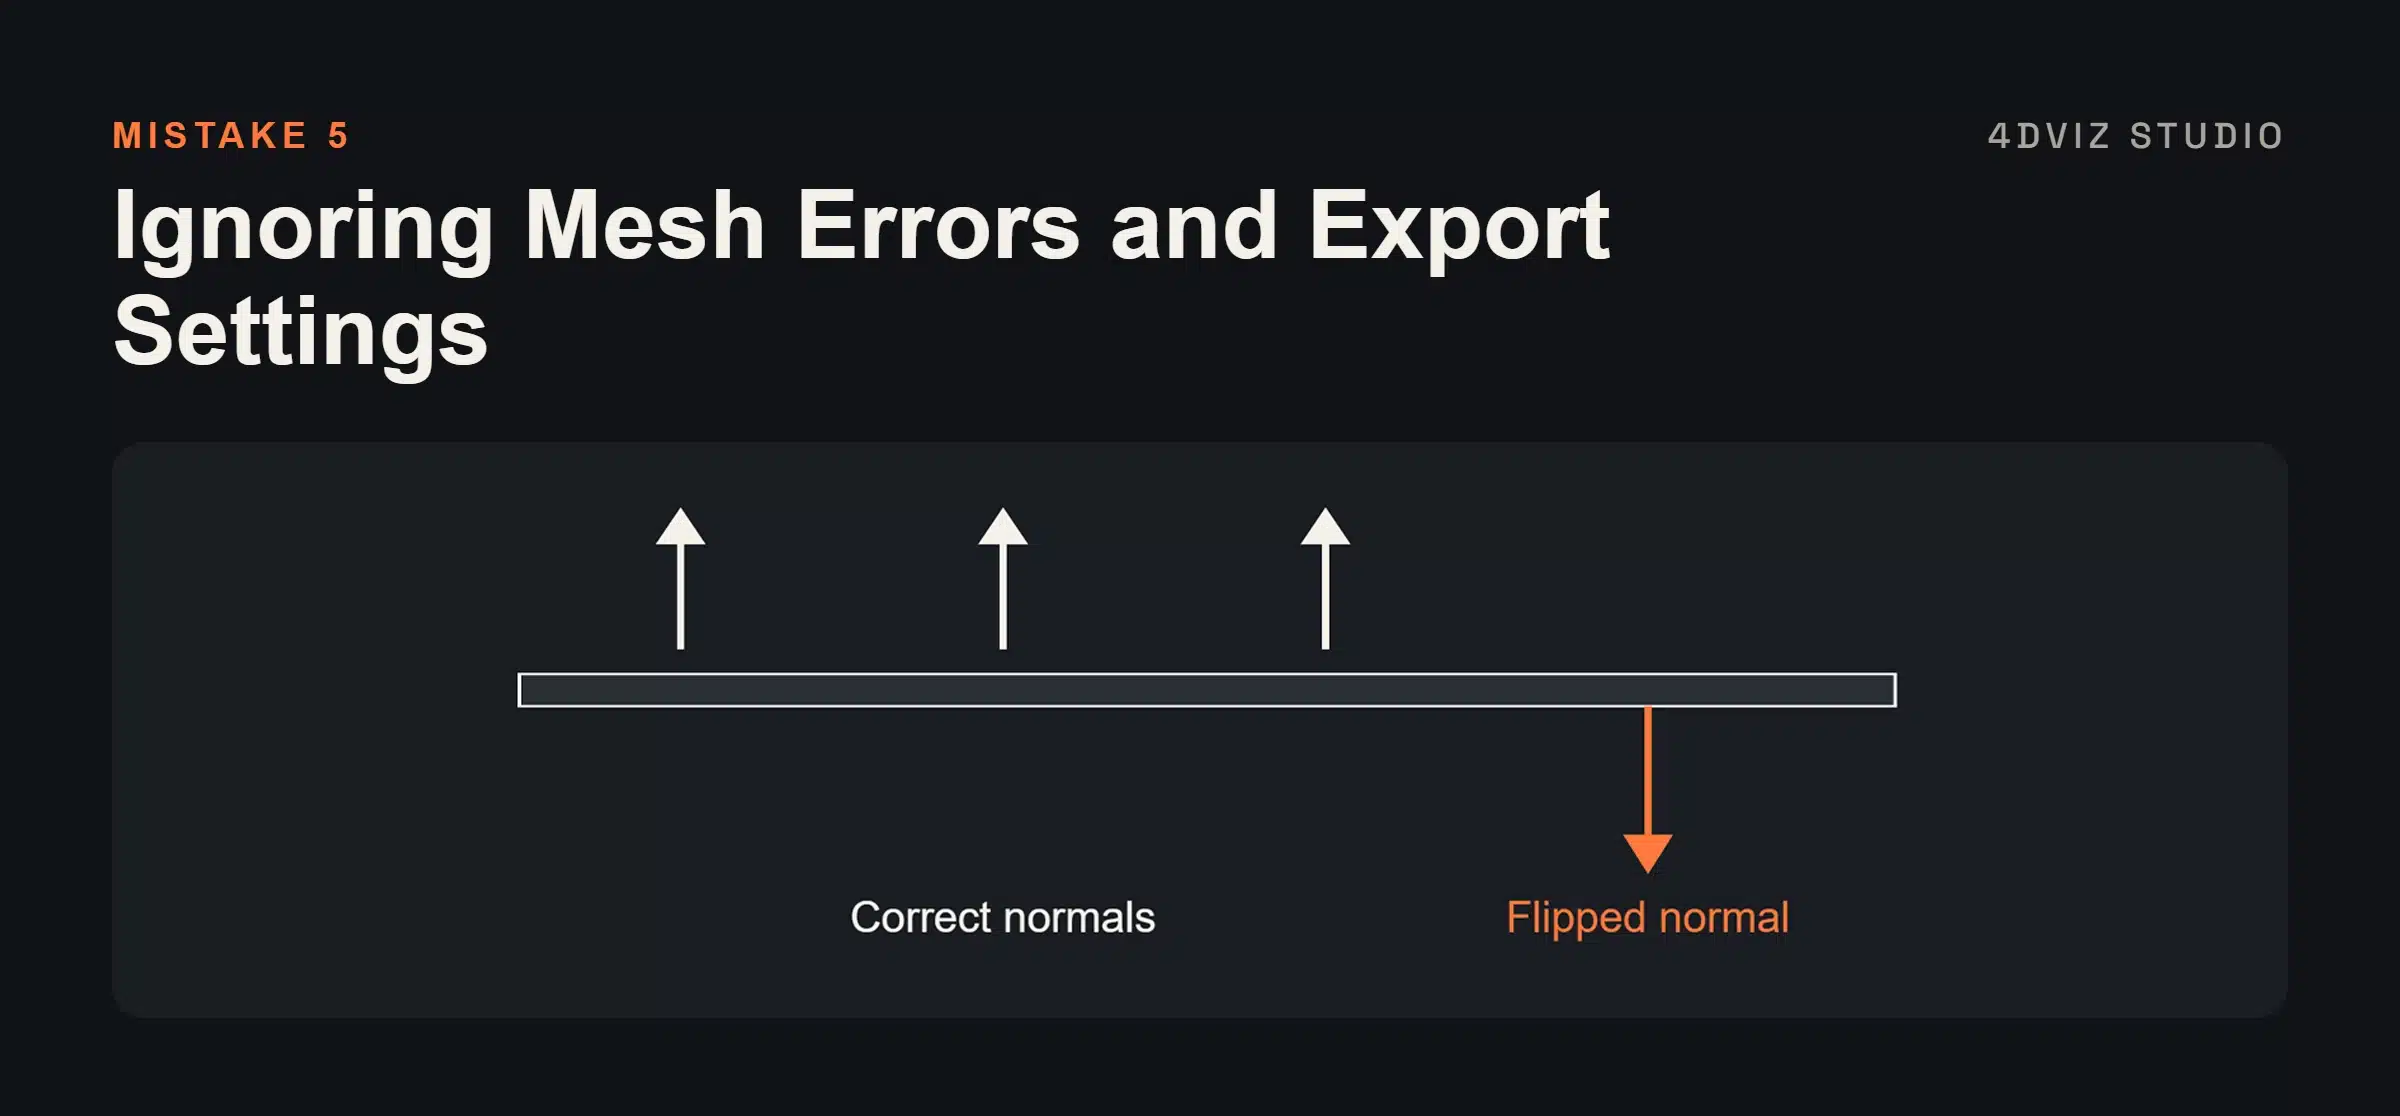
A model can look fine in the viewport and still break somewhere else. Flipped normals cause dark or inverted shading. Non-manifold geometry and overlapping faces cause render artifacts. Unapplied scale or rotation causes surprises the moment the model is opened in another program.
How to Avoid It: Before you hand off or export a model, recalculate normals, remove loose vertices and duplicate faces, and apply scale and rotation. If the model is headed for AR or a web viewer, export a clean, optimized GLB or USDZ file and test it on a real device. This is part of how we prepare models in our AR 3D modeling services.
6. Forgoing UV Mapping and Texturing
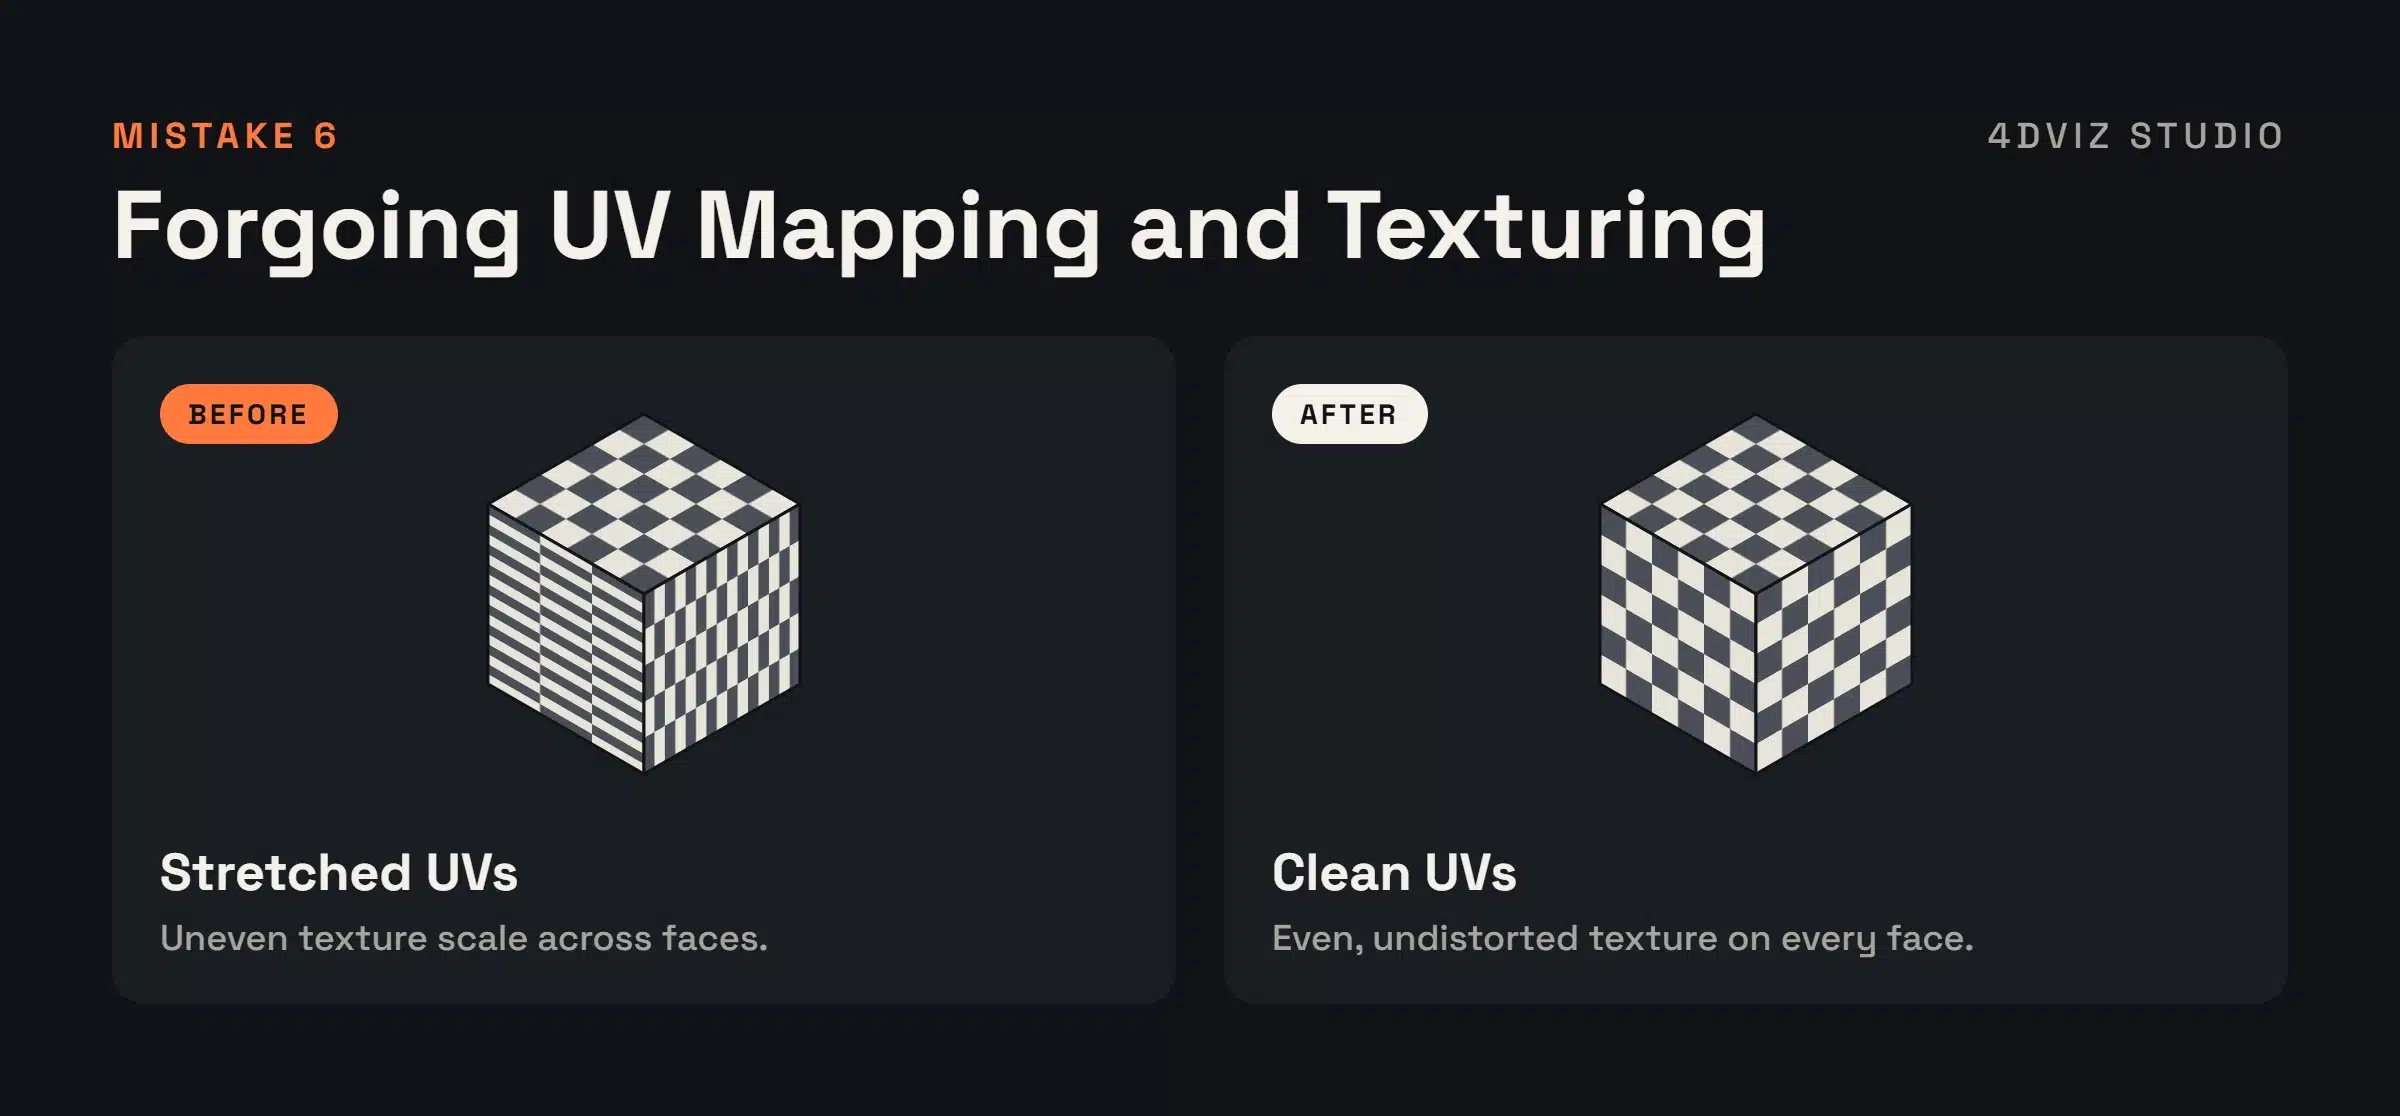
Even well-modeled objects fall flat without proper UV mapping and textures. It is a common oversight, especially when deadlines are tight.
How to Avoid It: Create clean, non-overlapping UV maps and watch for stretching and distortion. Tools like Blender’s Smart UV Project give you a starting point, but always adjust by hand for the best result. In my experience, skipping proper UV work always leads to regrets.
7. Incorrect Lighting Setup
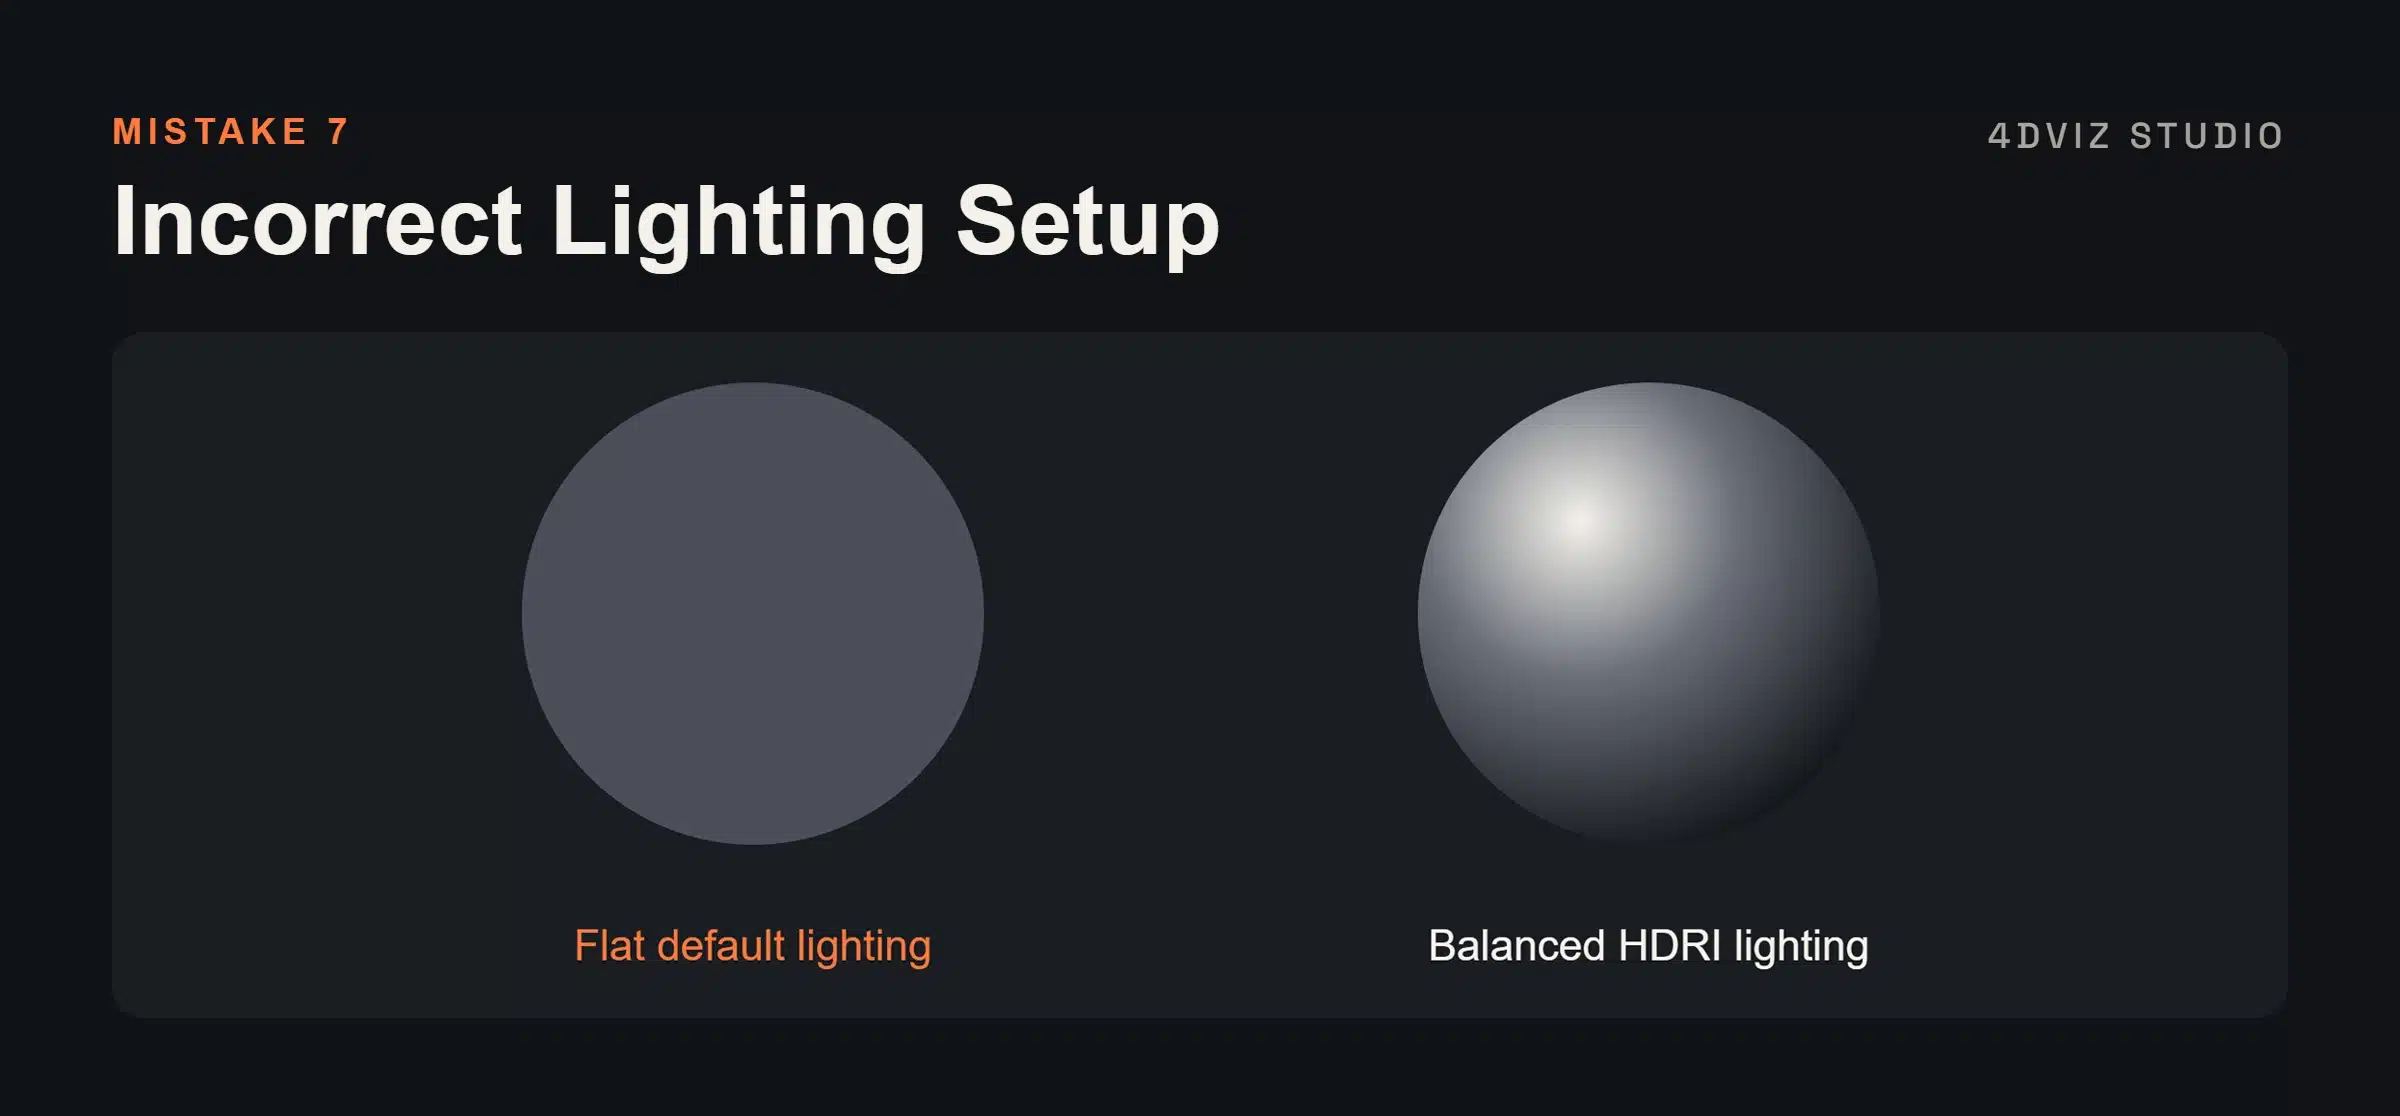
Lighting is often neglected, but it is what makes a render look real. Poor lighting makes even a perfect model look dull or fake.
How to Avoid It: Study lighting techniques and test different setups. Use HDRIs for ambient light and balance your shadows and highlights. In many of my renders, replacing the default lighting setup changed the final result completely.
8. Dependence on Default Materials
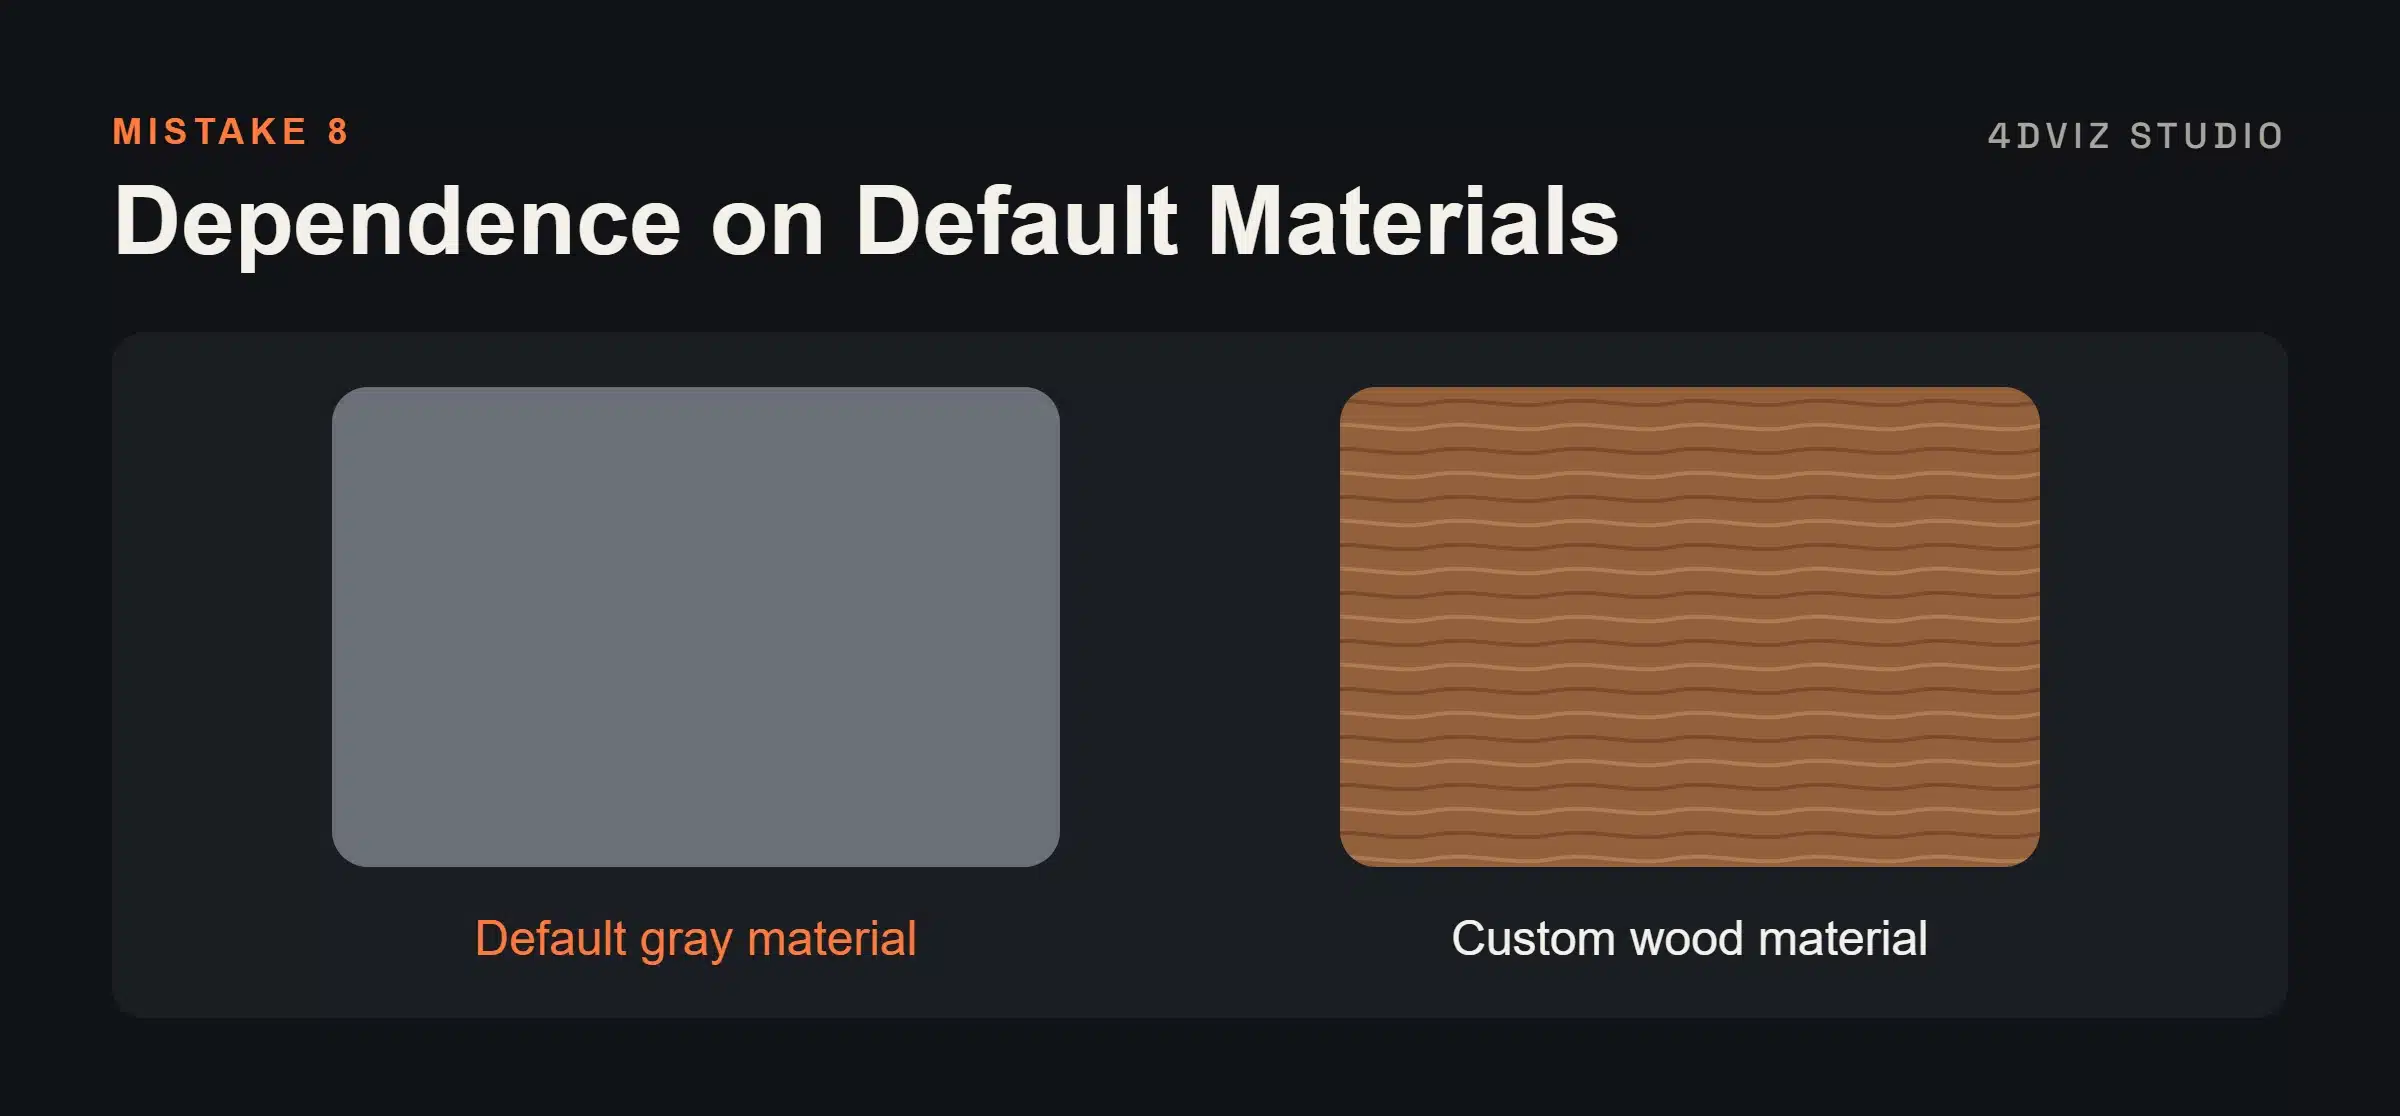
Default materials rarely convey realism, especially in architectural visualization or product visualization. Relying on them makes a model look unfinished or generic.
How to Avoid It: Build custom materials with node systems or import high-quality textures. I often develop custom wood materials for furniture projects, which adds a lot of realism and detail.
9. Skipping Reference Materials
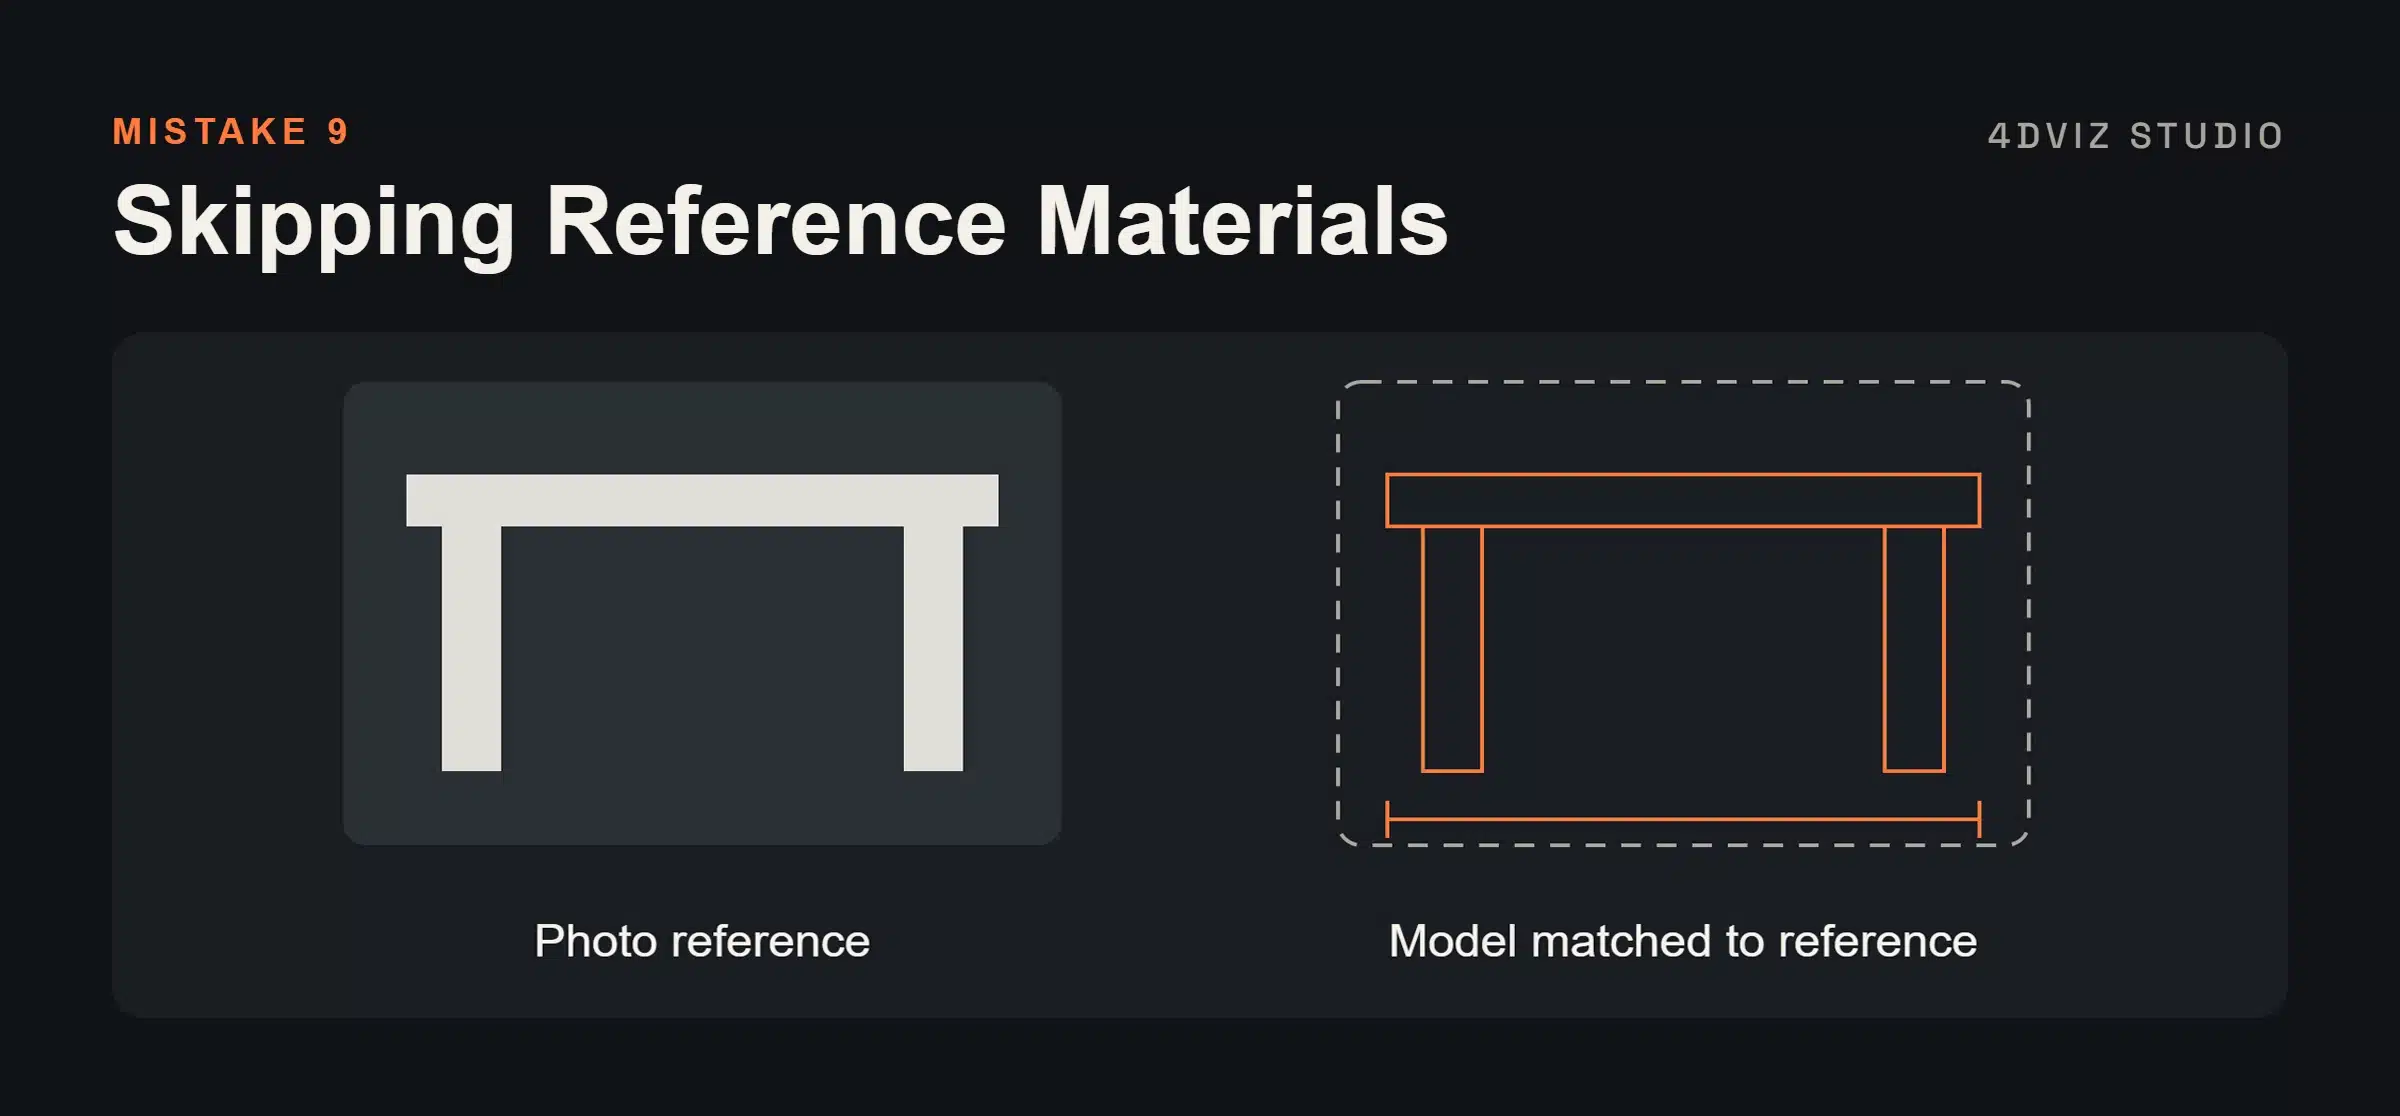
Modeling without reference images leads to inaccurate or stylized results, particularly in product and architectural work.
How to Avoid It: Gather references before you begin: photos, blueprints, or sketches. I routinely ask clients for CAD drawings so architectural models stay accurate. References guide your proportions and details, and they save time.
10. Overlooking File Organization
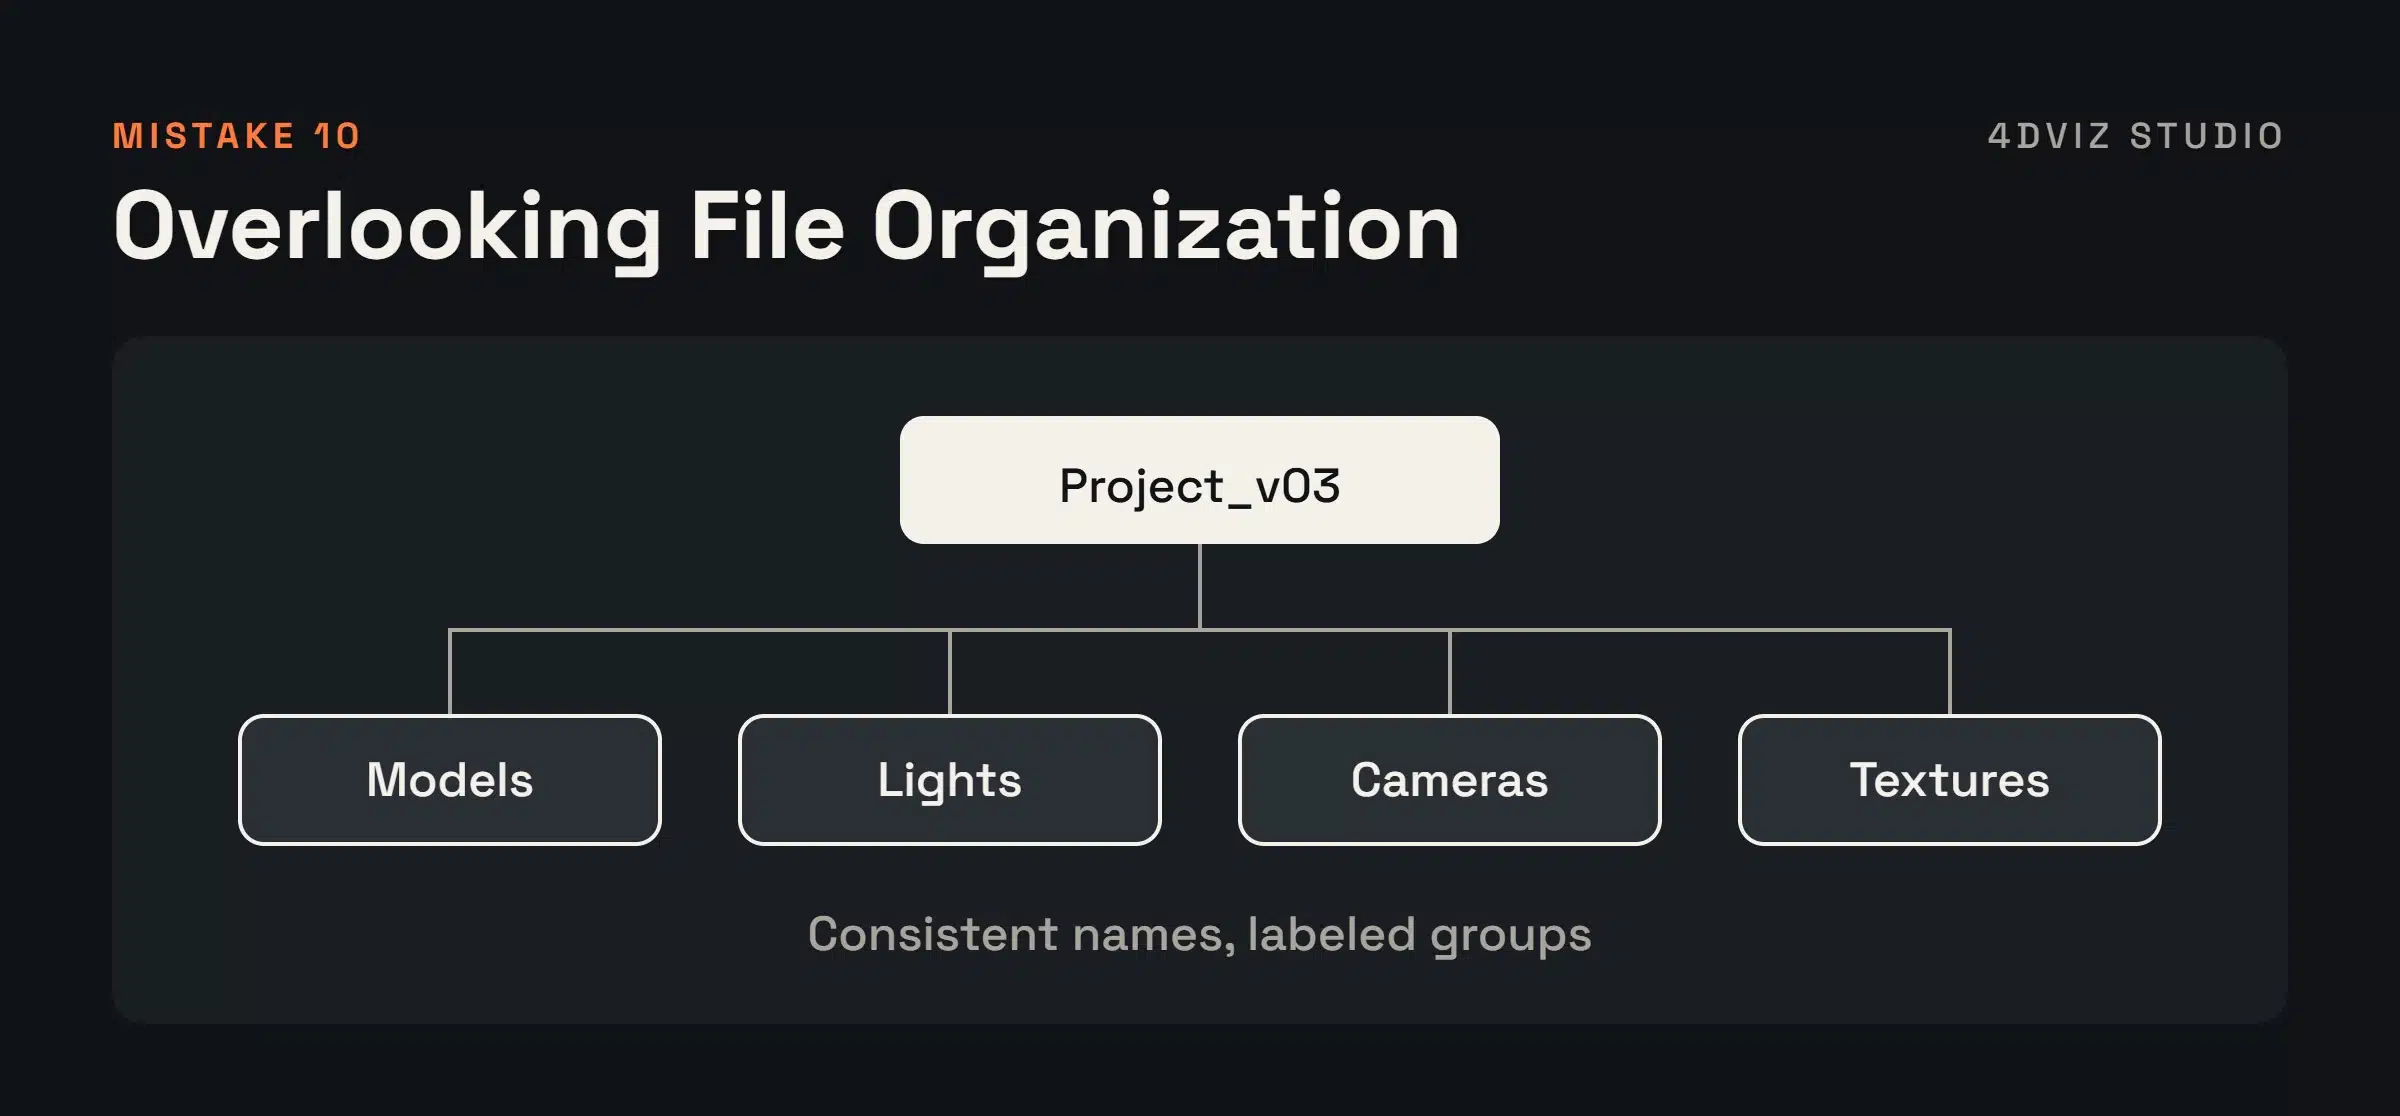
Poor file management causes confusion fast, especially on large or collaborative projects. A disorganized project can cost hours in lost files and version mix-ups.
How to Avoid It: Use a consistent naming convention and organize your scene into layers or collections. I keep models, lights, and cameras in separate, labeled groups. It saves a lot of time when I reopen an old project.
11. Not Backing Up Your Work
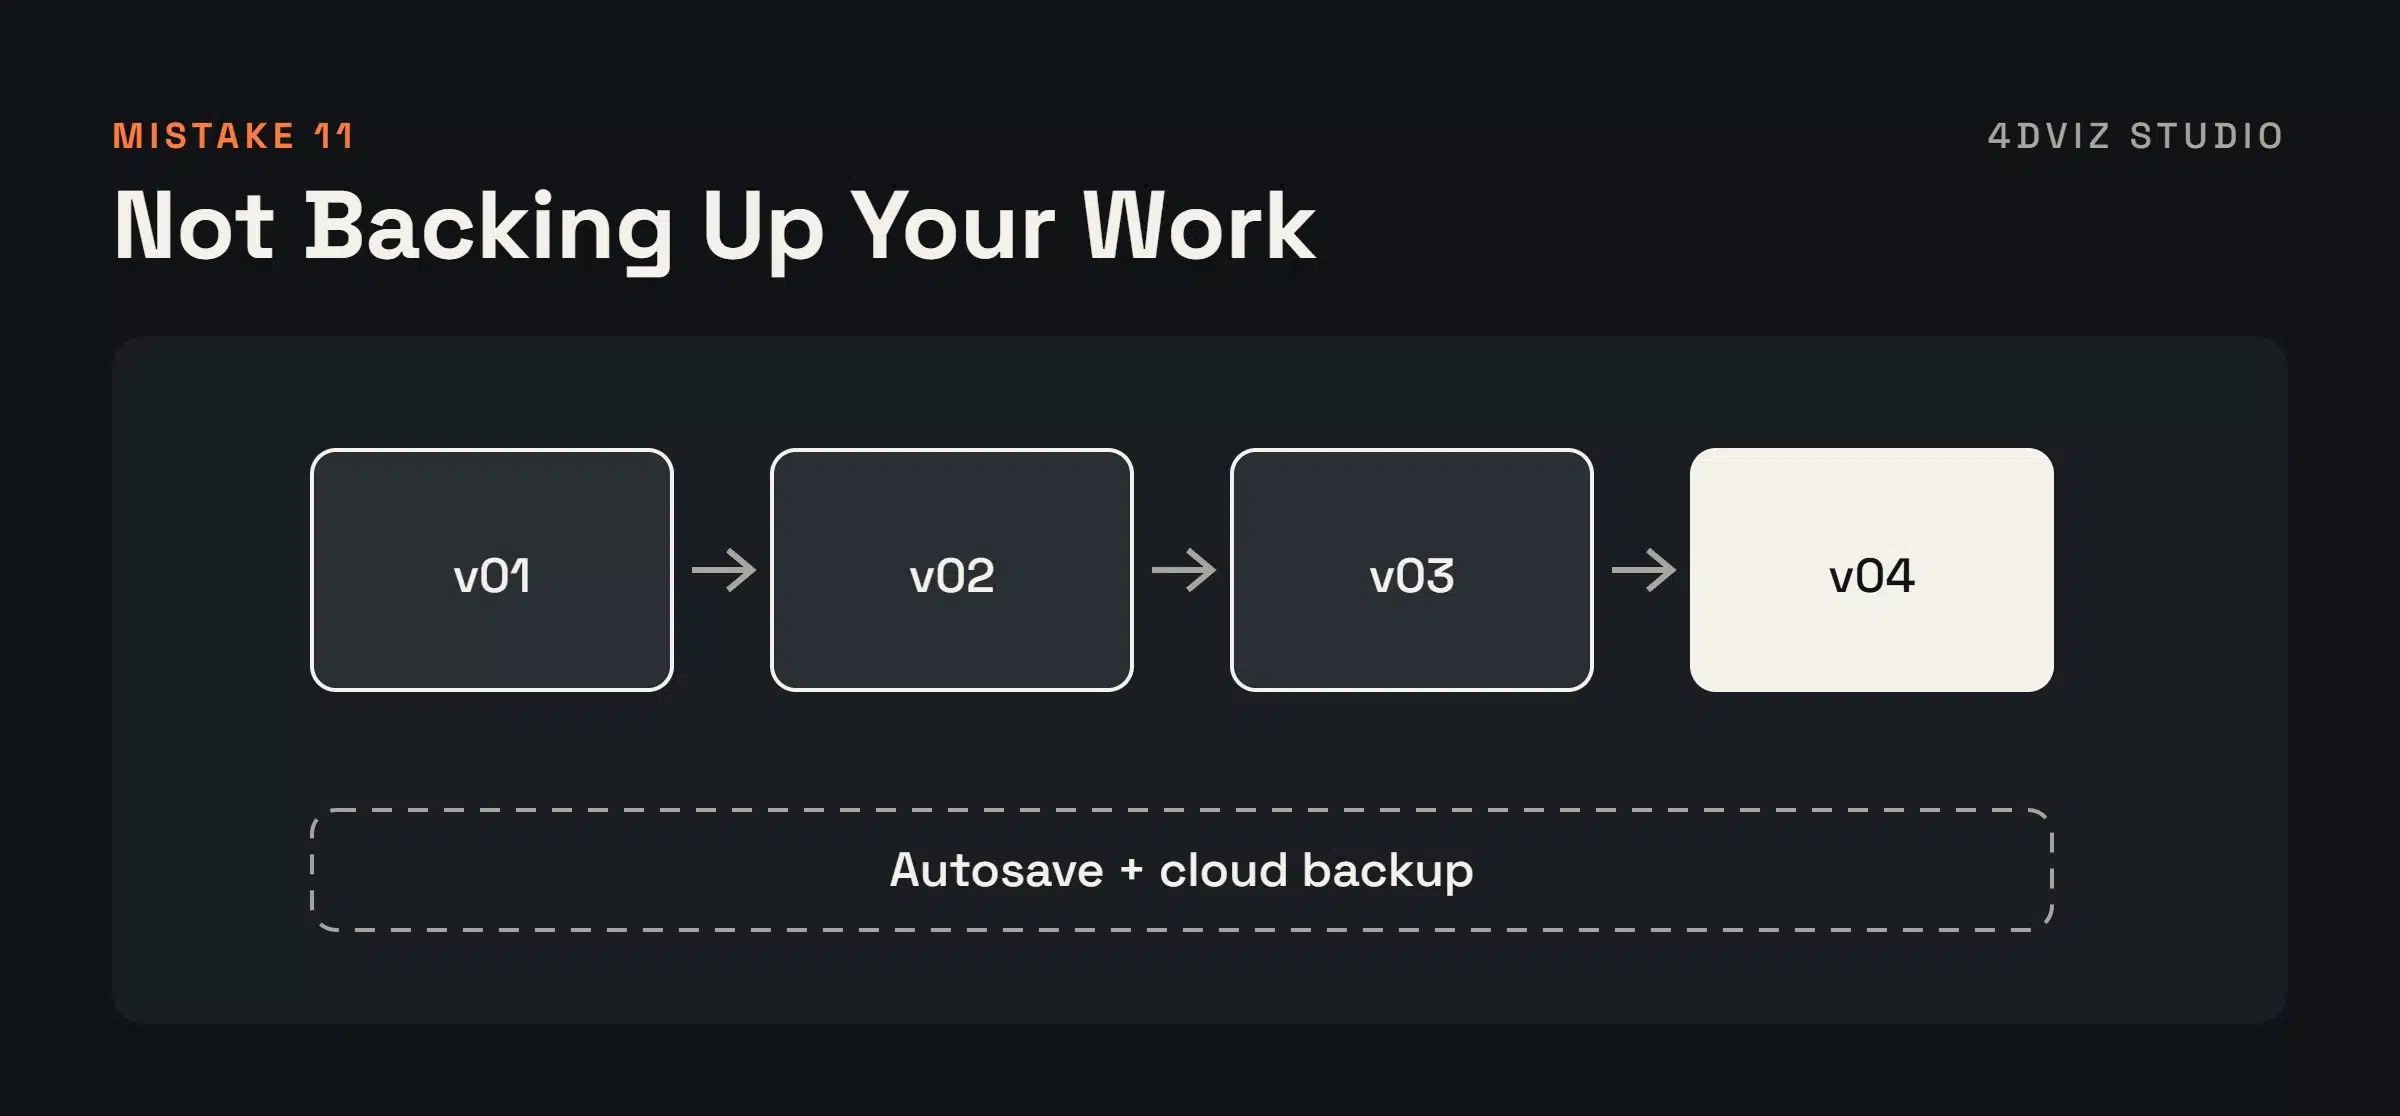
Few things are more frustrating than losing hours of work to a crash or a corrupted file, and many artists only learn this the hard way.
How to Avoid It: Save incremental versions regularly, turn on autosave, and keep cloud backups where you can. On large projects, a good backup system has saved me entire days of work.
Final Thoughts
Keep it simple, focus on precision, and always work from references. Avoiding these mistakes makes your models look better and makes you a faster, more reliable 3D artist, whether you model furniture, architectural elements, or products.
Need clean, render-ready 3D models?
Send us your CAD files, sketches, or references.
We turn them into production-ready models.