In today’s fast-moving design and construction landscape, the demand for high-quality architectural visuals has never been greater. Modern real estate developers, building professionals, and business owners rely heavily on 3D rendering to communicate ideas with precision and confidence. Understanding the architectural 3D rendering workflow is essential—not only for architects but also for clients who want clarity, control, and predictable project outcomes.
The Importance of a Structured 3D Rendering Workflow
A well-defined architectural rendering workflow ensures consistency, accuracy, and timely delivery. It minimizes miscommunication, reduces revision cycles, and helps stakeholders visualize the project long before construction begins. Whether you’re preparing marketing materials, investor presentations, or construction documentation, understanding the process empowers you to collaborate more effectively with rendering teams.
Professionals across real estate, interior design, landscape architecture, and construction benefit from this clarity. Business owners, especially those investing in development or property upgrades, also gain a deeper appreciation of how rendering supports strategic decision-making.
1. Project Briefing & Information Collection
The workflow begins with gathering accurate project data. This stage sets the tone for the entire rendering pipeline and ensures the final visuals reflect the true design intentions.
Key inputs usually include:
- Architectural drawings (CAD, Revit, PDFs)
- Reference images, concept sketches, or mood boards
- Material schedules and color palettes
- Site photographs or drone images for context
At this stage, communication is essential. Rendering teams ask clarifying questions, verify details, and confirm the project scope. This reduces the risk of errors or misaligned expectations later.
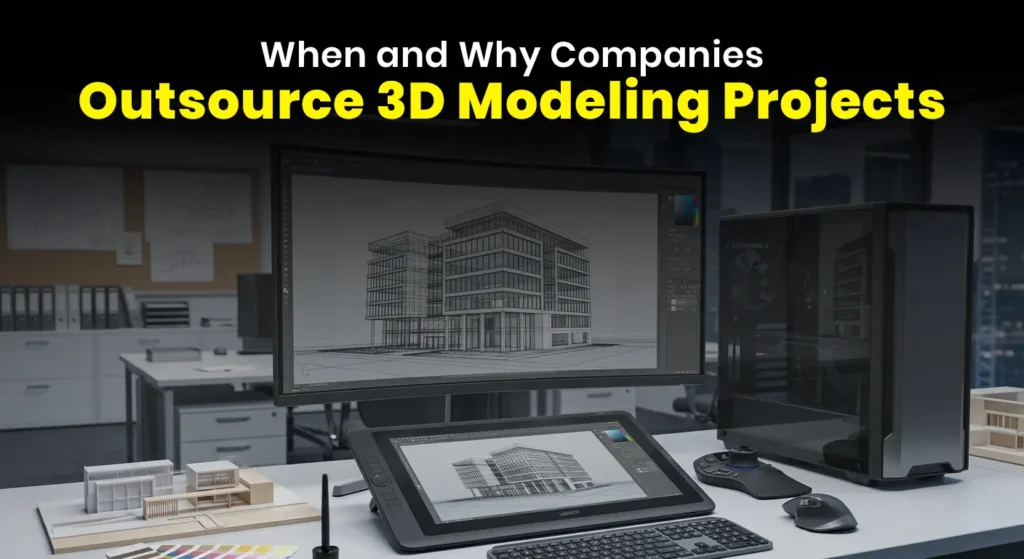
2. 3D Modeling: Building the Digital Structure
Once information is collected, artists begin building the 3D model—the digital foundation of all future visuals. This process uses software such as 3ds Max, SketchUp, Revit, Rhino, or Blender.
The modeling phase includes:
- Creating the building massing
- Adding architectural details
- Constructing interior layouts and structural elements
- Incorporating furniture, fixtures, and décor
This step is crucial because any inaccuracies here will cascade throughout the workflow. As a result, many professionals choose to review and approve the model before the project moves forward.
3. Camera Setup & Scene Composition
To tell a compelling visual story, the rendering team selects camera angles that best showcase the design. This involves applying principles of composition, lighting direction, and human-scale perspective.
Considerations include:
- Hero shots that highlight key architectural features
- Wide interior views to emphasize spatial flow
- Eye-level shots for realism
- Aerial or semi-aerial views for site context
Professionals and business owners often review these camera views to ensure they align with marketing goals or design intentions.
4. Material & Texture Development
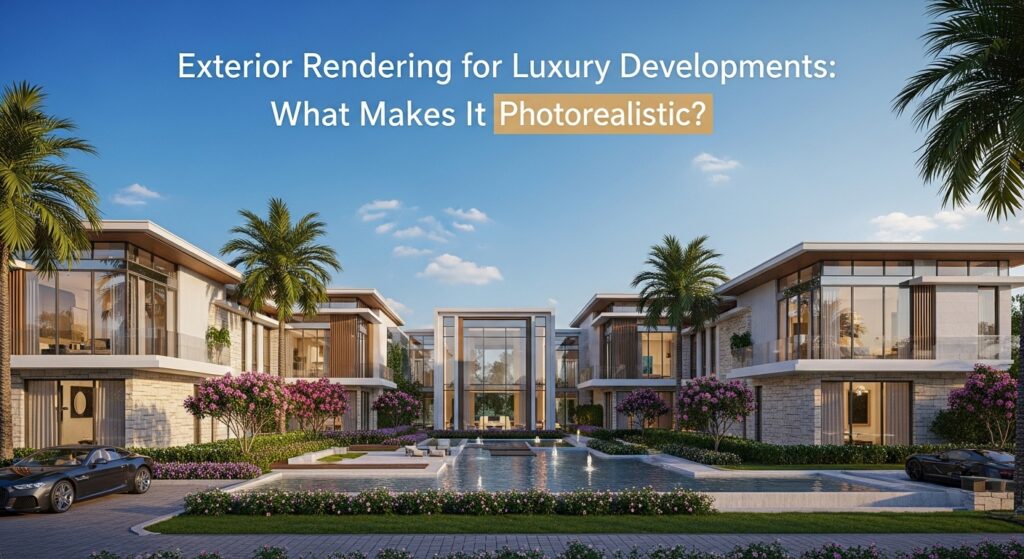
One of the most influential steps in the workflow is applying realistic materials. Textures such as wood grain, stone patterns, glass reflections, or metallic finishes play a decisive role in achieving photorealism.
At this point, the design begins to come alive. Rendering teams experiment with material properties such as glossiness, roughness, translucency, and reflection. Interior designers especially appreciate this stage because it allows them to validate color palettes and finish selections.
5. Lighting Setup: Bringing the Scene to Life
Lighting defines mood, depth, and realism. Professional rendering teams simulate both natural and artificial lighting conditions based on the final environment.
Lighting types may include:
- Daylight simulations for exterior renders
- Golden hour lighting for marketing shots
- Interior ambient lighting for residential and commercial spaces
- Artificial lighting setups for nighttime or retail-focused visuals
Lighting adjustments significantly impact materials, clarity, and visual tone.
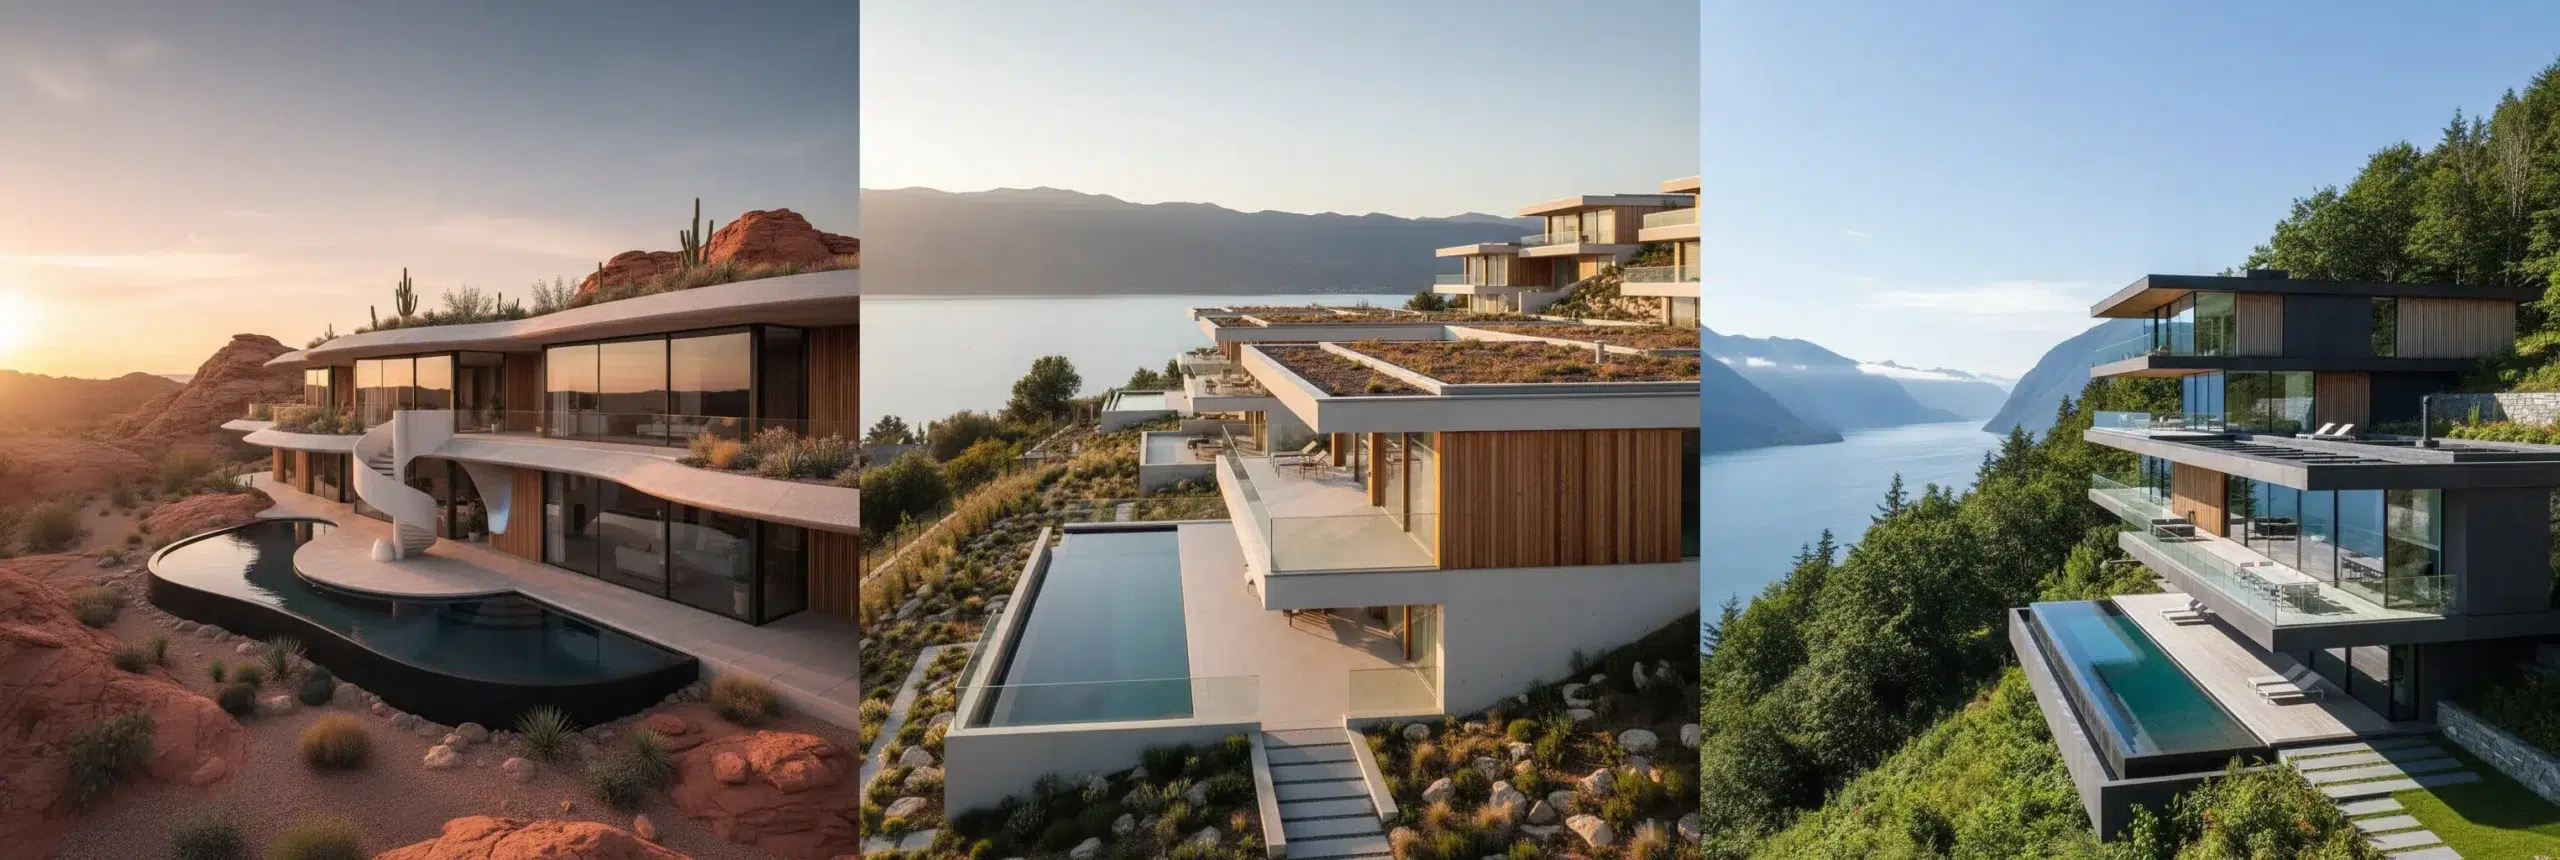
6. Environment & Landscaping Integration
To mimic real-world conditions, artists add environmental elements such as vegetation, vehicles, people, sky compositions, and atmospheric effects. Exterior scenes benefit greatly from this step, as it enhances the sense of scale and realism.
Landscaping components, pathways, pools, terrain modeling, and hardscape design are incorporated based on the project’s requirements.
7. Draft Rendering & Client Review
A preliminary draft render—also known as a clay render or low-resolution render—is produced for review. This draft focuses on verifying the following:
- Camera angles
- Modeling accuracy
- Material choices
- Lighting direction
This is a key collaboration point between rendering teams and clients. Feedback gathered here informs revisions before moving to final production.
8. Final Rendering & Post-Production
Once the draft is approved, the final rendering phase begins. High-resolution images are generated using advanced CGI engines such as V-Ray, Corona Renderer, Redshift, or Unreal Engine.
Post-production enhancements may include:
- Color correction
- Exposure adjustments
- Sky replacement
- Shadow refinement
- Lens effects for realism
Post-production gives the artwork a polished, professional finish suitable for presentations, websites, brochures, and marketing campaigns.
9. Delivery of Final Outputs
The final deliverables are typically provided in formats such as JPEG, PNG, TIFF, or even 360° panoramas. For large-scale projects, clients may also request:
- Architectural animations
- Virtual reality walkthroughs
- Augmented reality previews
- Interactive 3D models
Many businesses use these visuals for marketing, fundraising, or pre-construction sales.
Why This Workflow Matters for Businesses & Professionals
A clear architectural 3D rendering workflow ensures predictability, transparency, and efficiency. For architects, it improves design approval rates. For developers and property marketers, it speeds up decision-making and strengthens communication across teams.
Key benefits include:
- Reduced project risk
- Higher stakeholder engagement
- More informed design decisions
- Stronger visual marketing impact
To learn more about professional rendering methods, you may also explore resources like the American Institute of Architects (AIA) for insights on visualization standards.
Final Thoughts
Understanding the architectural 3D rendering workflow helps professionals and business owners communicate effectively with rendering teams, anticipate project timelines, and achieve better visual outcomes. Whether your goal is marketing, design validation, or project approval, this workflow forms the backbone of successful architectural visualization.